My Kitchen Makeover - for under $500!

This post may contain affiliate links.
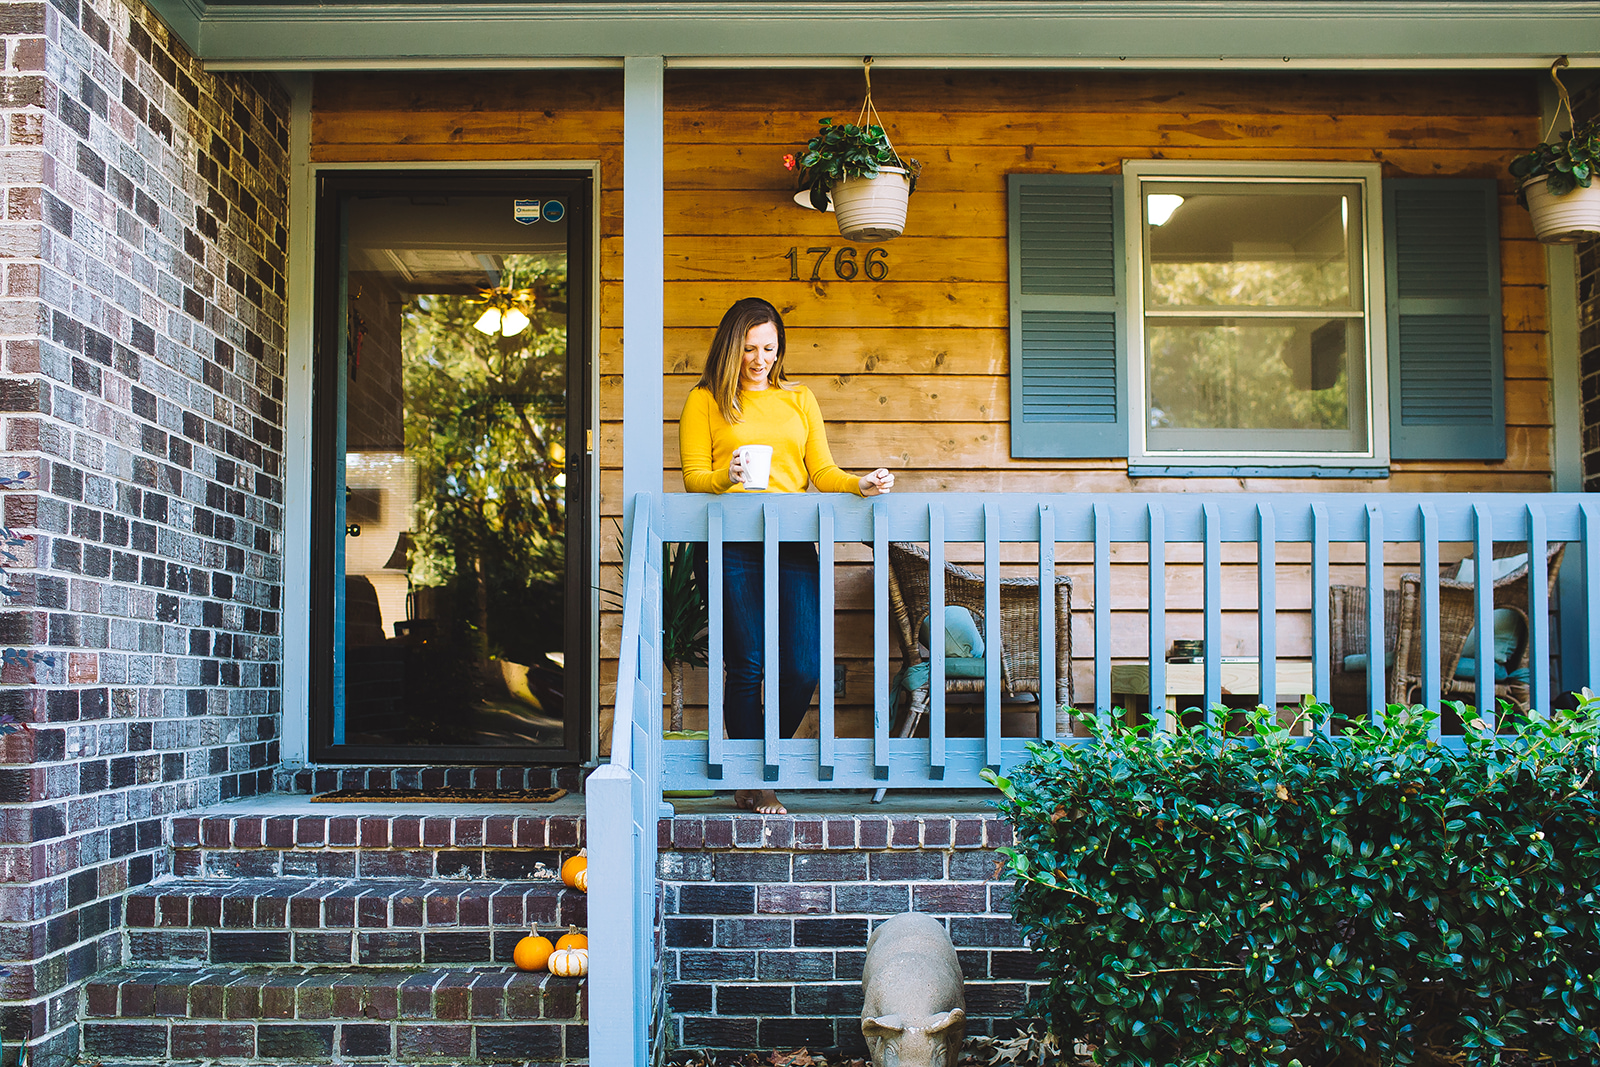
Love at first sight? Something like that…
When I saw our home pop up in the MLS, I knew we had to have it and I scheduled a showing to see it two hours after it was listed! Despite the fact that much of the interior was original to 1986, it checked off pretty much all our boxes: a 3 bedroom, 2 bathroom brick ranch with a yard in the exact location we wanted!
For many years it had been a rental, and our neighbors told us that the only thing the previous owner did during his ownership was remove the popcorn ceilings (but srsly, amen to that!)
After painting the entire place head to toe (ceilings, walls, doors and ALL TRIM), I knew I needed to tackle the kitchen first since we (by “we” I mean “I”) spend a lot of time in there and it tends to be a focal point in a home.
We are hoping to save enough money to re-do the entire kitchen within a year so I didn’t want to spend a ton of money on this project, but the dark wood and horrible tan-ish peach-ish countertops were just killin’ me. I lost track of the exact costs but I ended up doing the whole thing for under $500!
I’d scoured Pinterest and Google for the simplest and easiest method for painting cabinets. So many of them said you had to sand everything, and I just didn’t feel like doing all that work to be honest. And actually, once we got going and tried to remove the doors to paint them, the hinges were corroded on and we wouldn’t have been able to remove them to sand and paint without making a disastrous mess inside, anyway. However, if you decide to take on this project yourself and you plan to keep your cabinets this way long term, I do recommend taking the extra time and step to sand. In the end I ended up going with this method (with some variations).
The blogger recommended a thick primer and two coats of paint and I thought that sounded easy enough!...
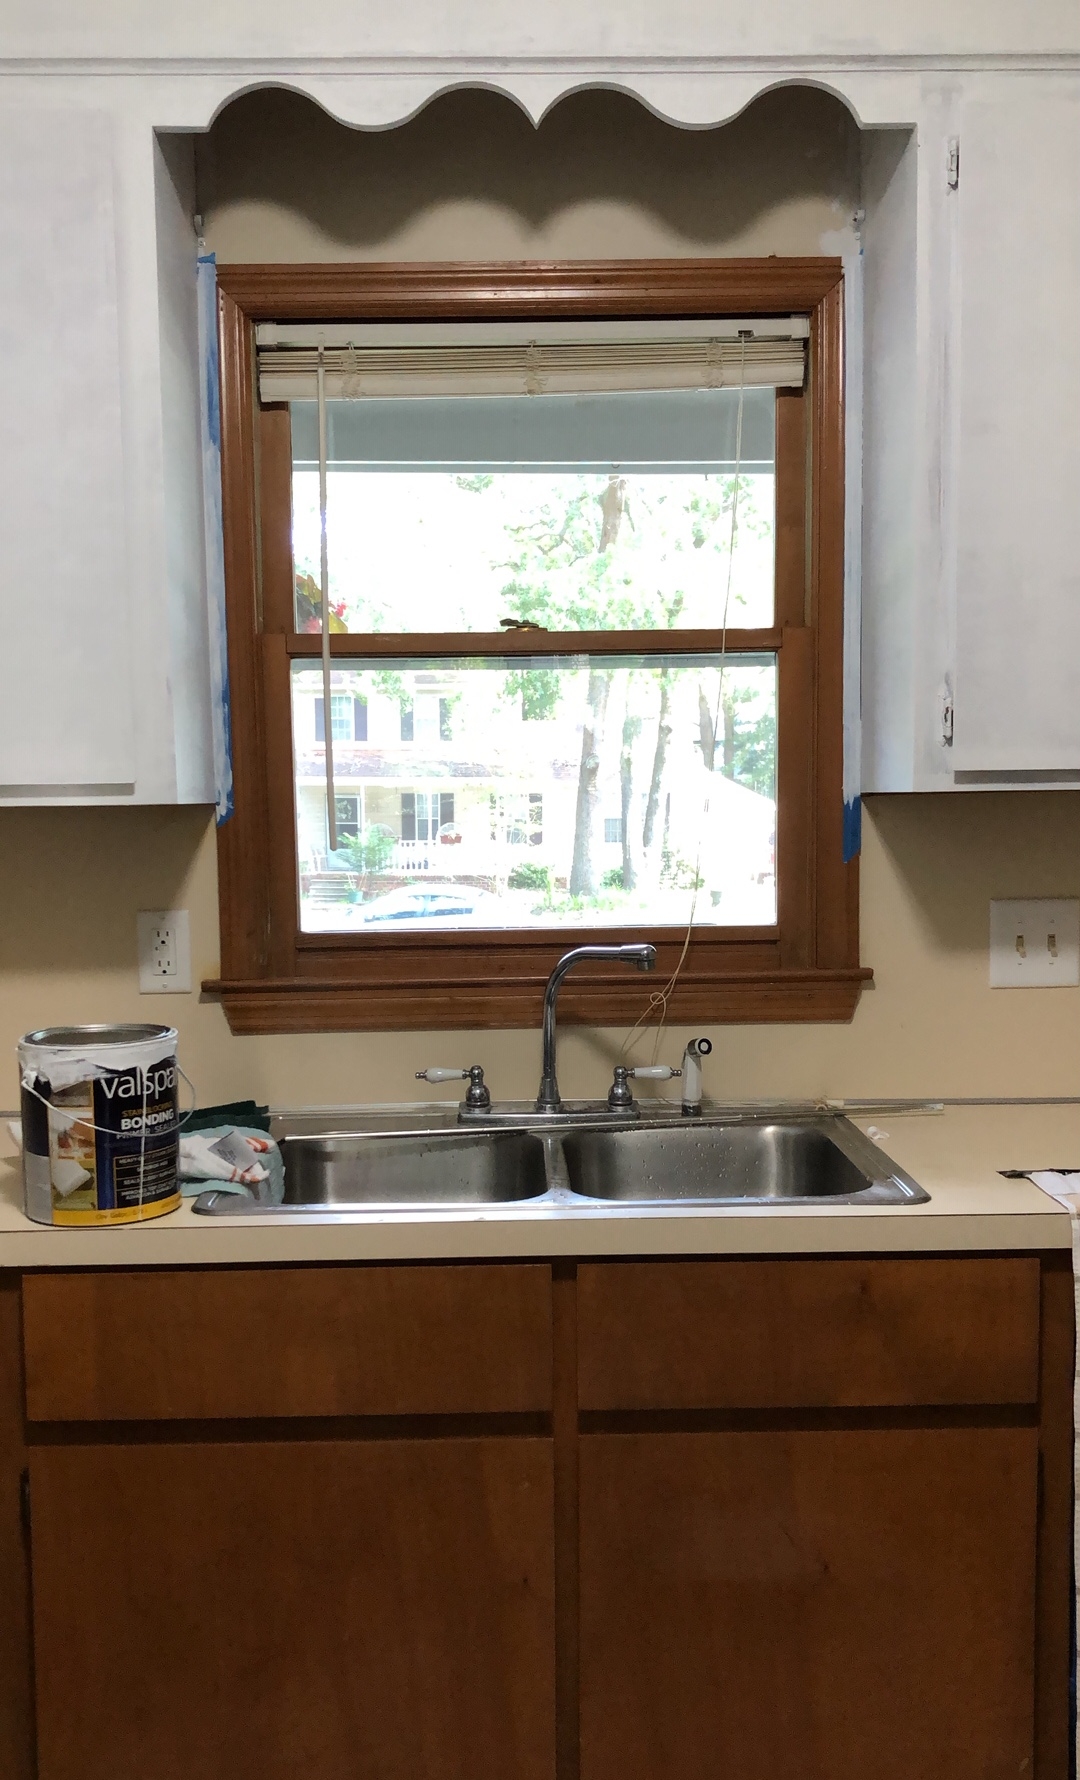
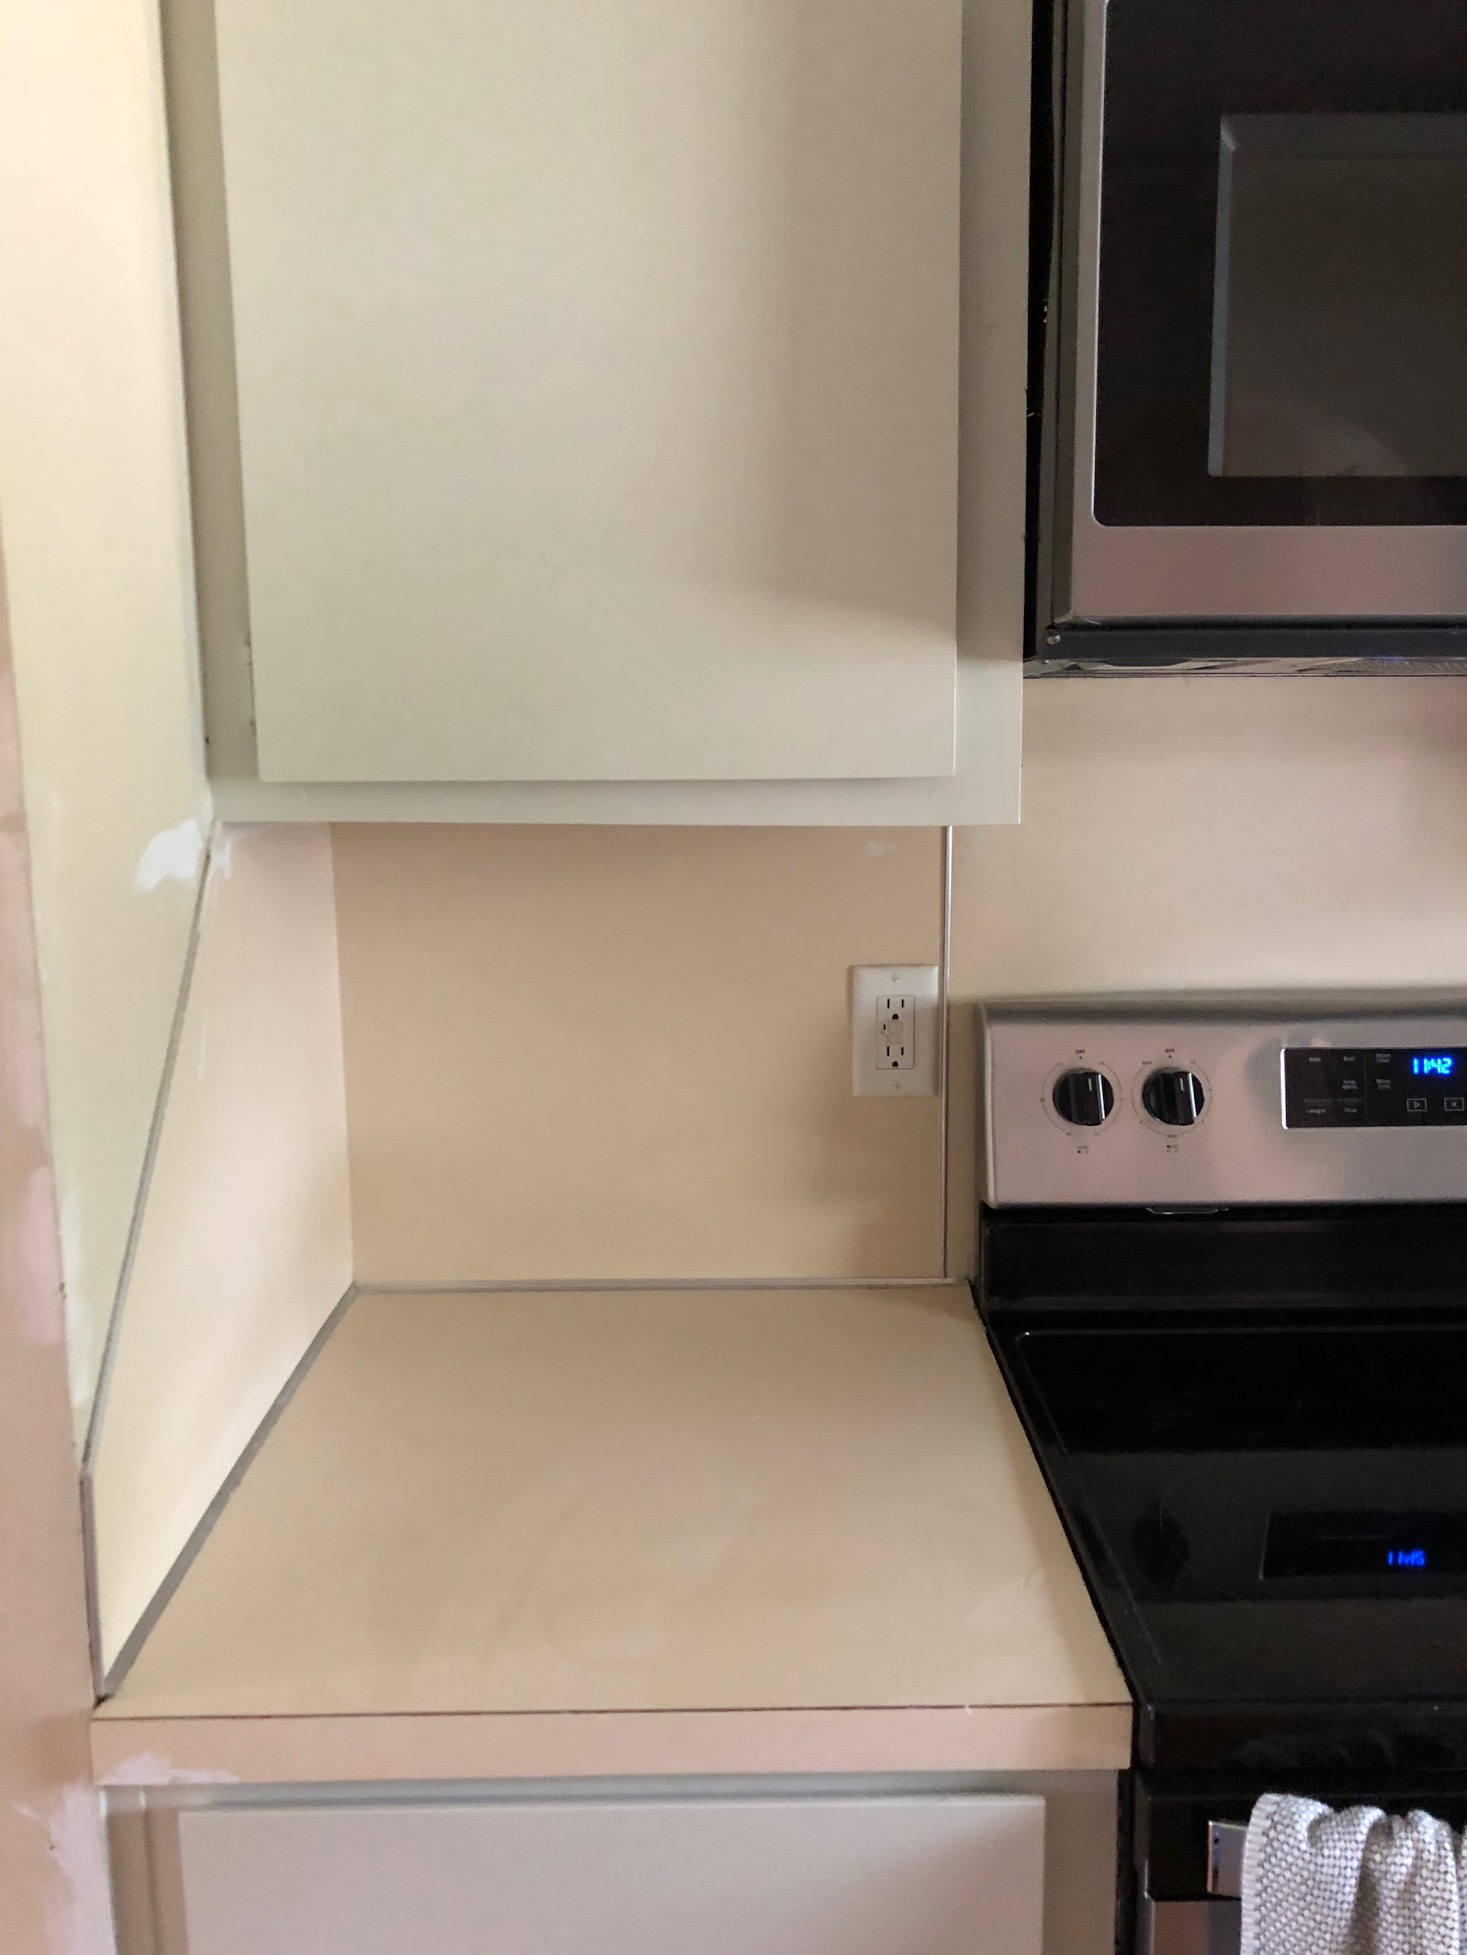
But let’s backtrack to the very beginning. Below are some “before” photos of the kitchen. If you want, you can also click here to see our home in the MLS and how the whole place looked when we bought it. *gasp*
OR, go to my Renovations highlight in my Instagram to see my video walk through from just a couple days after we closed.

Yikes!


So hideous, right? Thank goodness we at least got new appliances first and foremost. That stove was so old it had a clock with rotating numbers that clicked through to change the time!
Ideally I want white cabinets and light backsplash, etc when we reno the whole kitchen in a year or so (also because as a Realtor I’m constantly thinking about how to keep the home neutral and classic enough for resale down the road) but I thought, why not step out of my comfort zone and spice it up for this short term option! So I came across this photo on Pinterest and used it as my inspiration. (LEFT)
I chose “Tea Stain” by Valspar and “Champagne Bronze” hardware from Lowes. (RIGHT)


I didn’t want shiny gold hardware like the photo because I felt it was a little too glam.
FYI: You buy the Valspar Cabinet Enamel paint then bring it to the paint counter and have them tint it to the color of your choosing.
This is a snapshot of all the supplies I purchased. It totaled around $250.

Valspar Cabinet Enamel Paint
Valspar Bonding Primer Sealer
“Golden Champagne” cup pulls (I got mine at Lowe’s but these look exactly the same)
3 inch “Golden Champagne” cabinet pulls (I got mine at Lowe’s but these are very similar)
Foam rollers: they say “For Doors and Cabinets”
A GOOD 2 inch brush for cutting in and/or molding and trim
Plastic drop cloths to keep the floor clean
Paint tray
Paint tray liner
Liquid TSP: This blogger and most others recommended TSP for an intense cleaning to the cabinets and some others recommend it as a substitute to sanding, but once we started with it, my mom got a splash on her leg and it burned a bit so we decided against using it.
And then we began! (BTW, thanks Mom!!!!)
First: we taped the ceilings and edges along the walls, and begun with the primer.
The primer took 5 hours and 2 days to get the first coat on. It was very thick and not easy to apply. The fact that we couldn’t remove the faces of the cabinets made it extra difficult. FYI: It doesn’t cover like you’d expect, so you don’t need to apply as much as you think-- just enough to get a thin layer on there for the paint to stick to.

On day 3 we finally started the first coat of the cabinet paint and the anticipation was killing me!
It was looking great. A nice, light minty sage green that was really brightening up the space! (I see minty green but almost everyone else sees gray or greige. What do you see?).

We finished up the second coat on day 4, and put in the hardware on day 5.
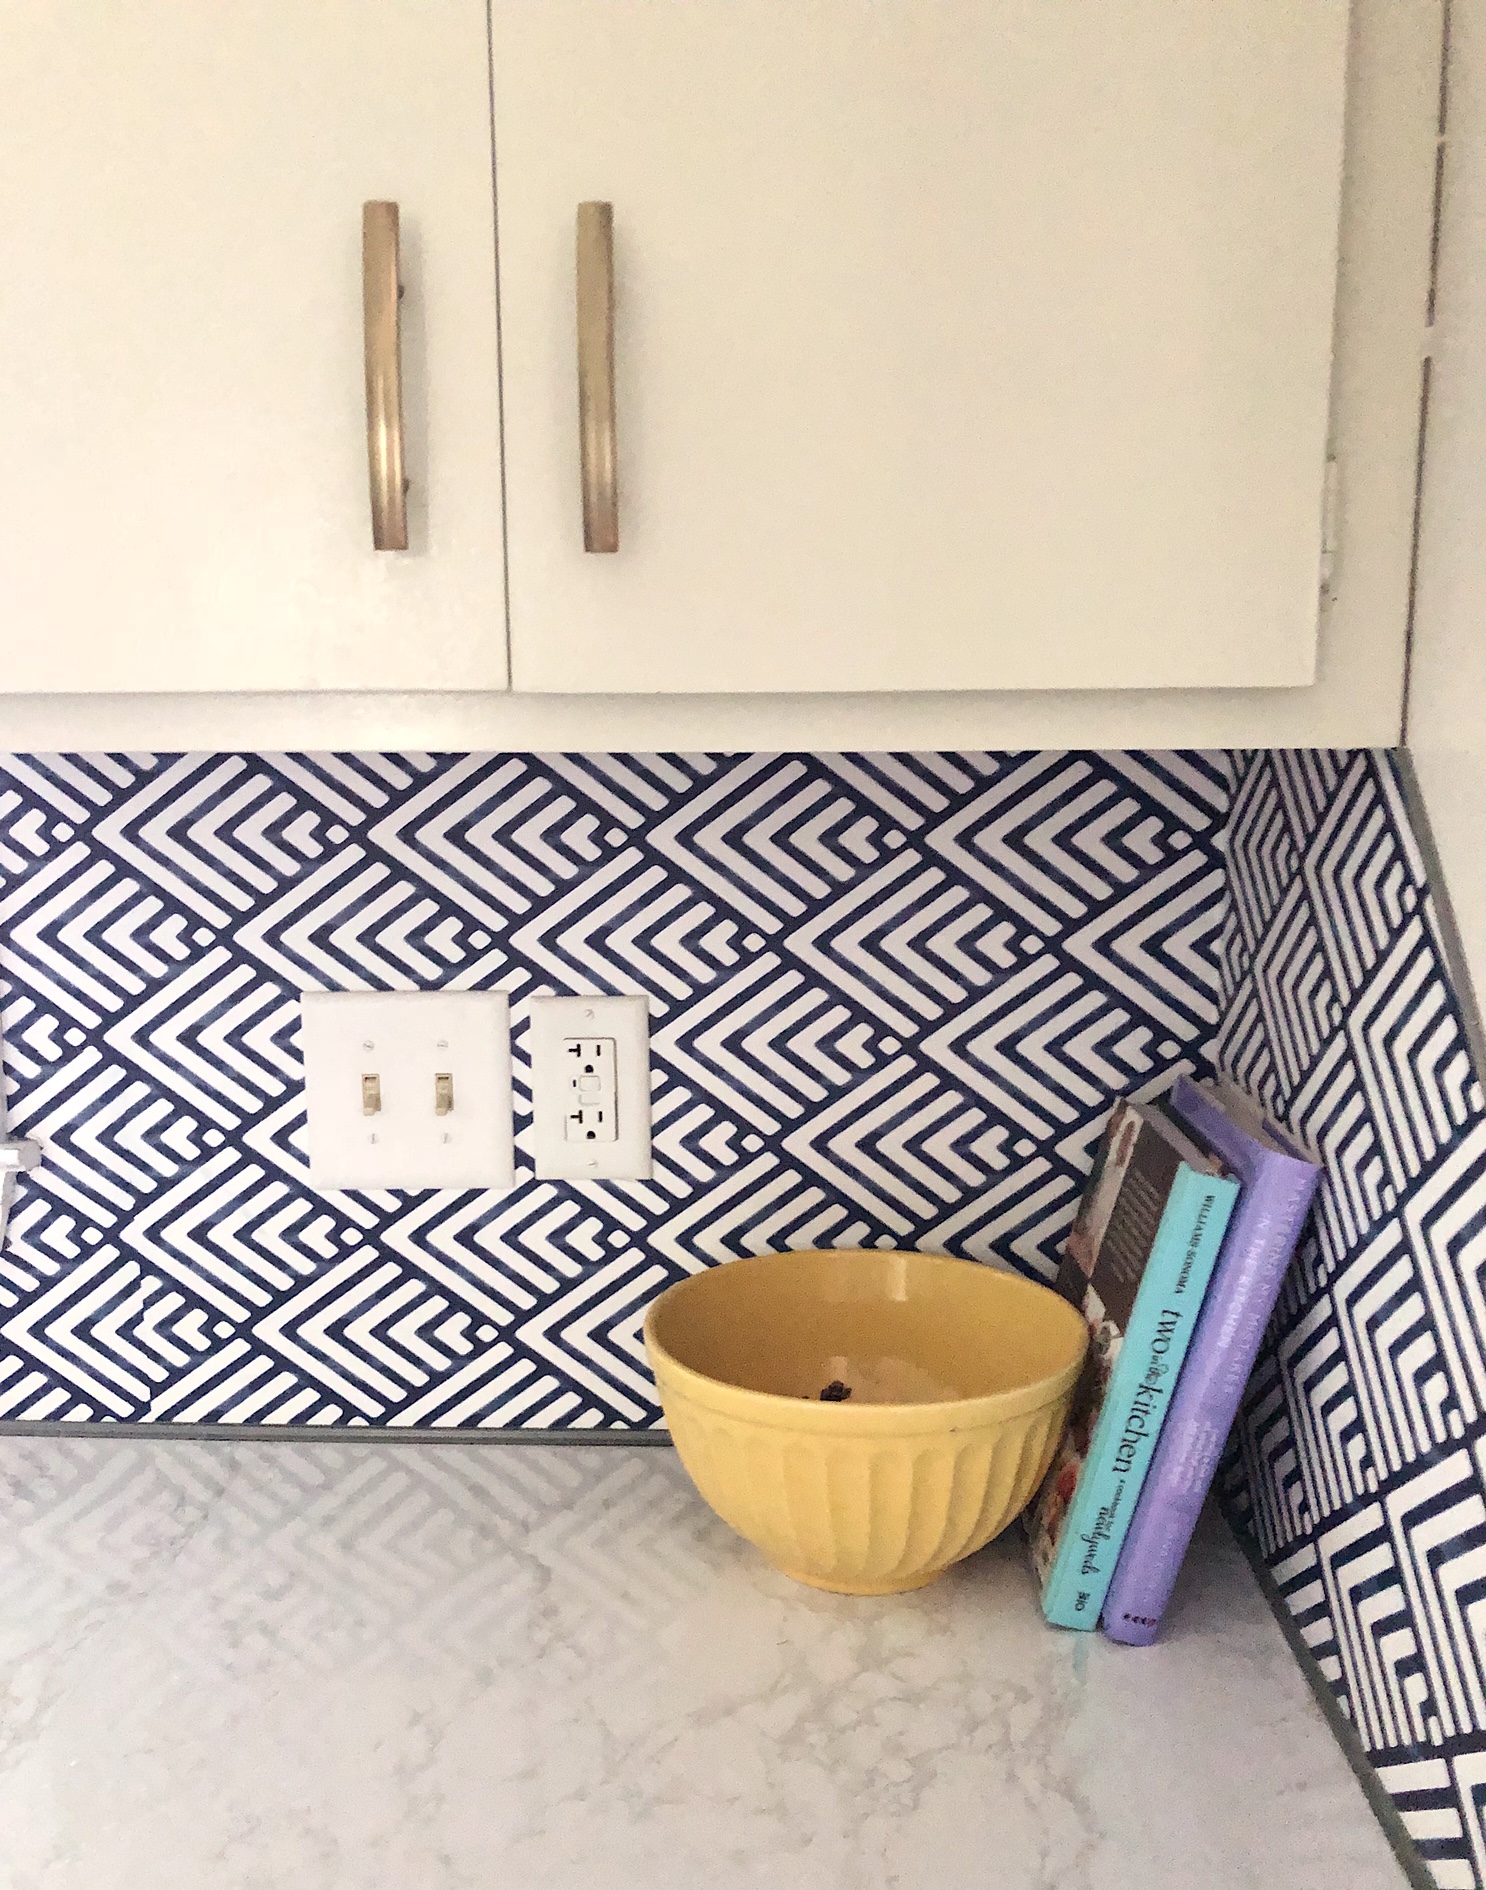
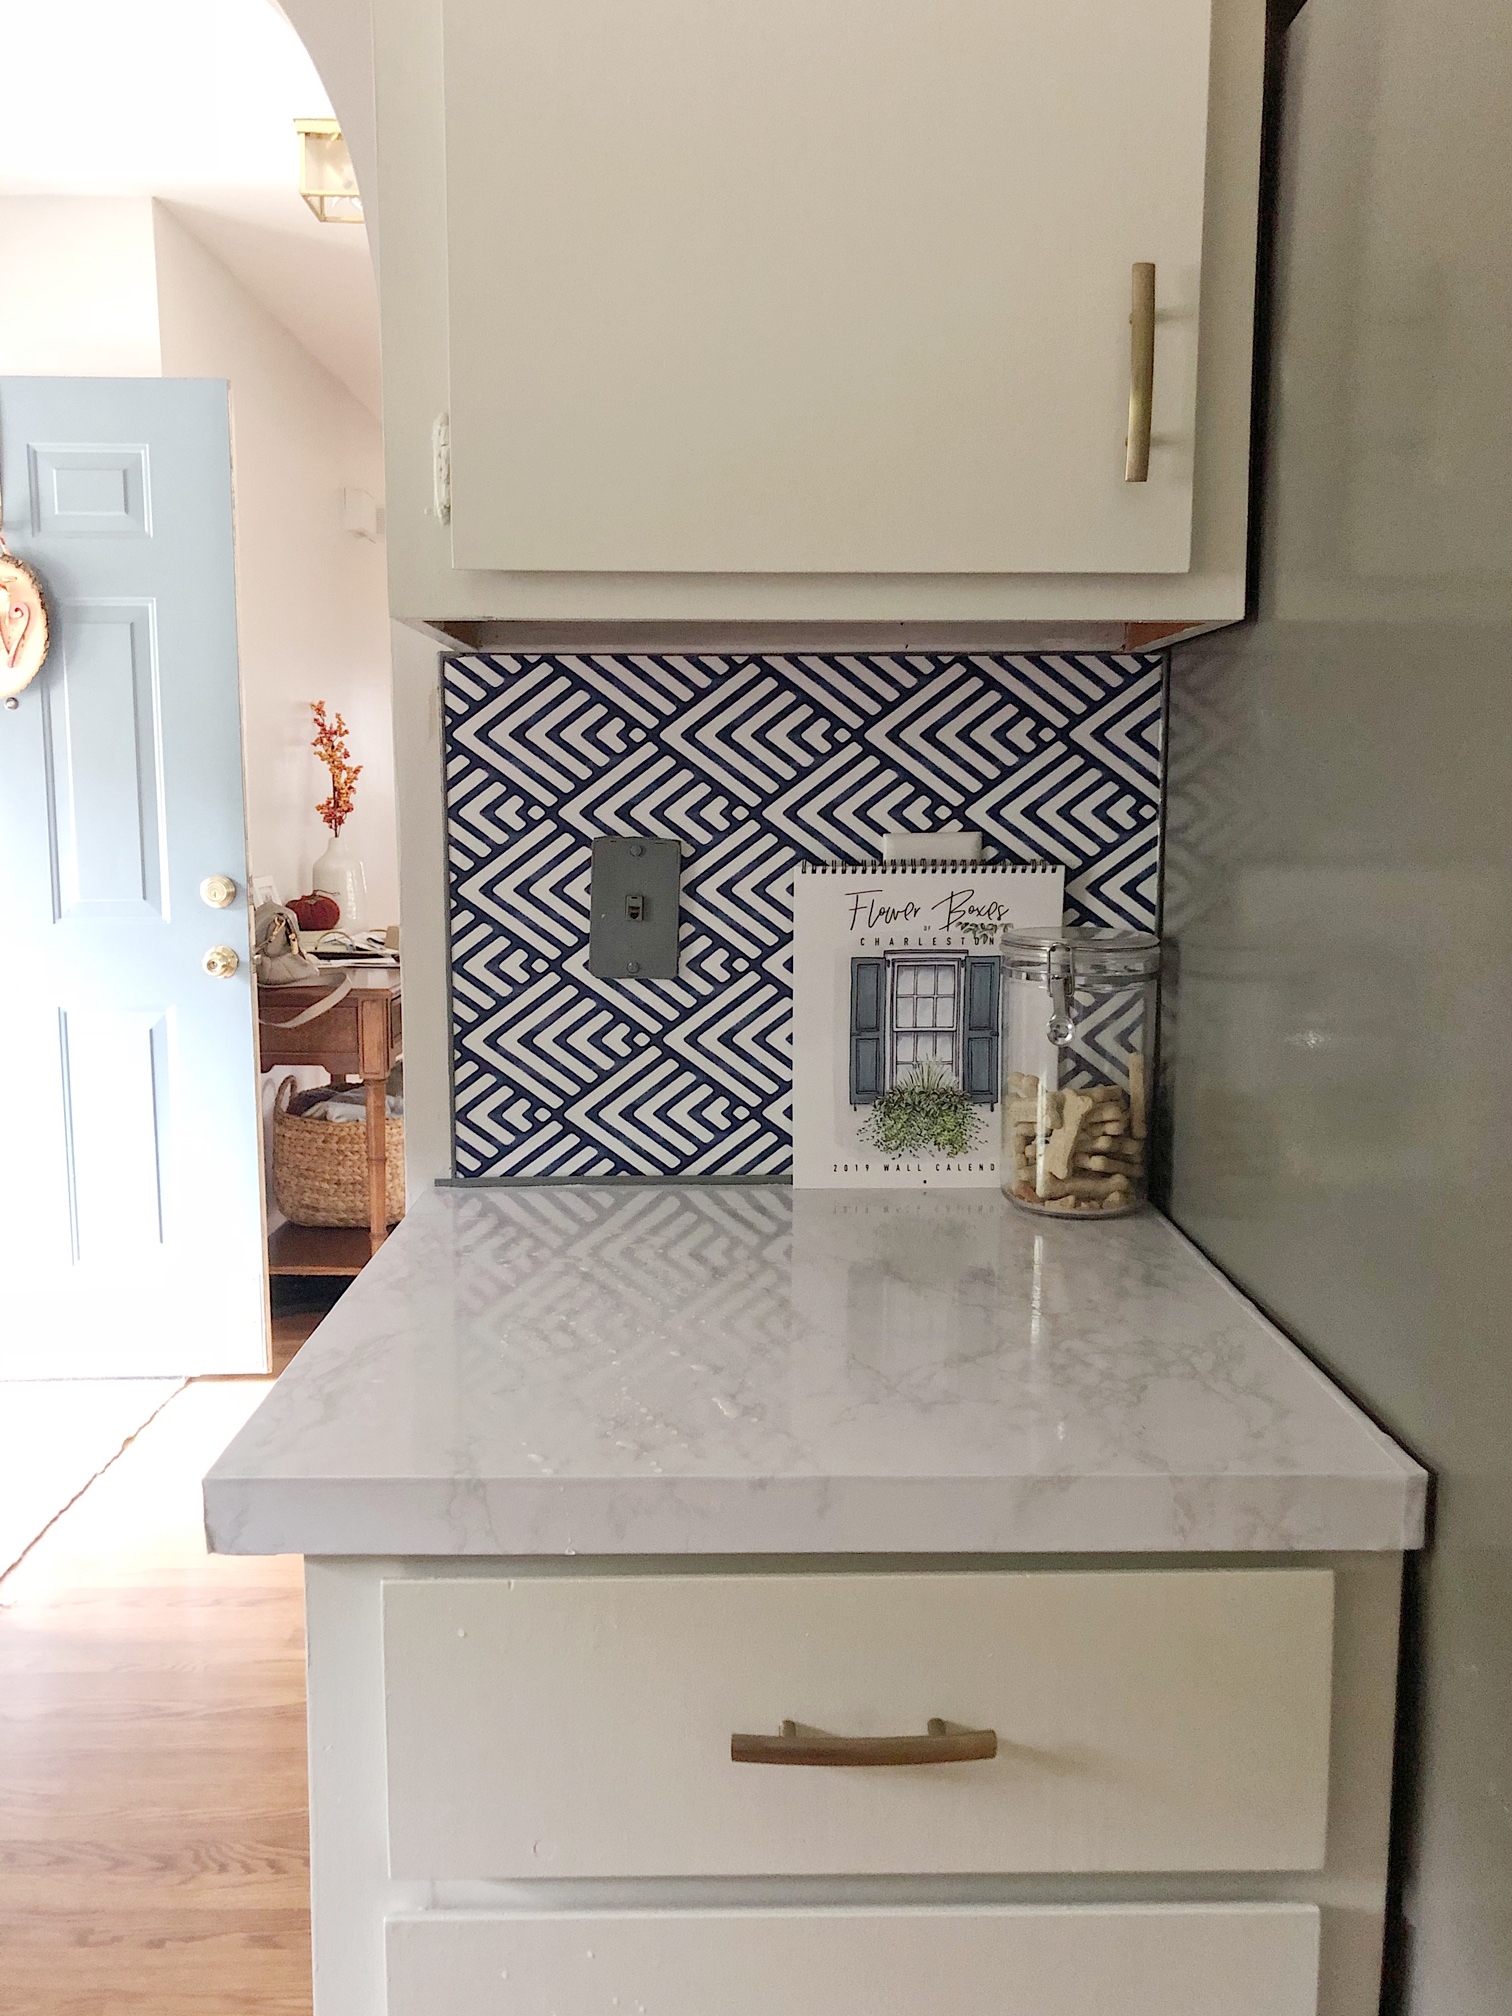
A couple weeks later I tackled the “backsplash” and another couple weeks later, the counters.
Phew!

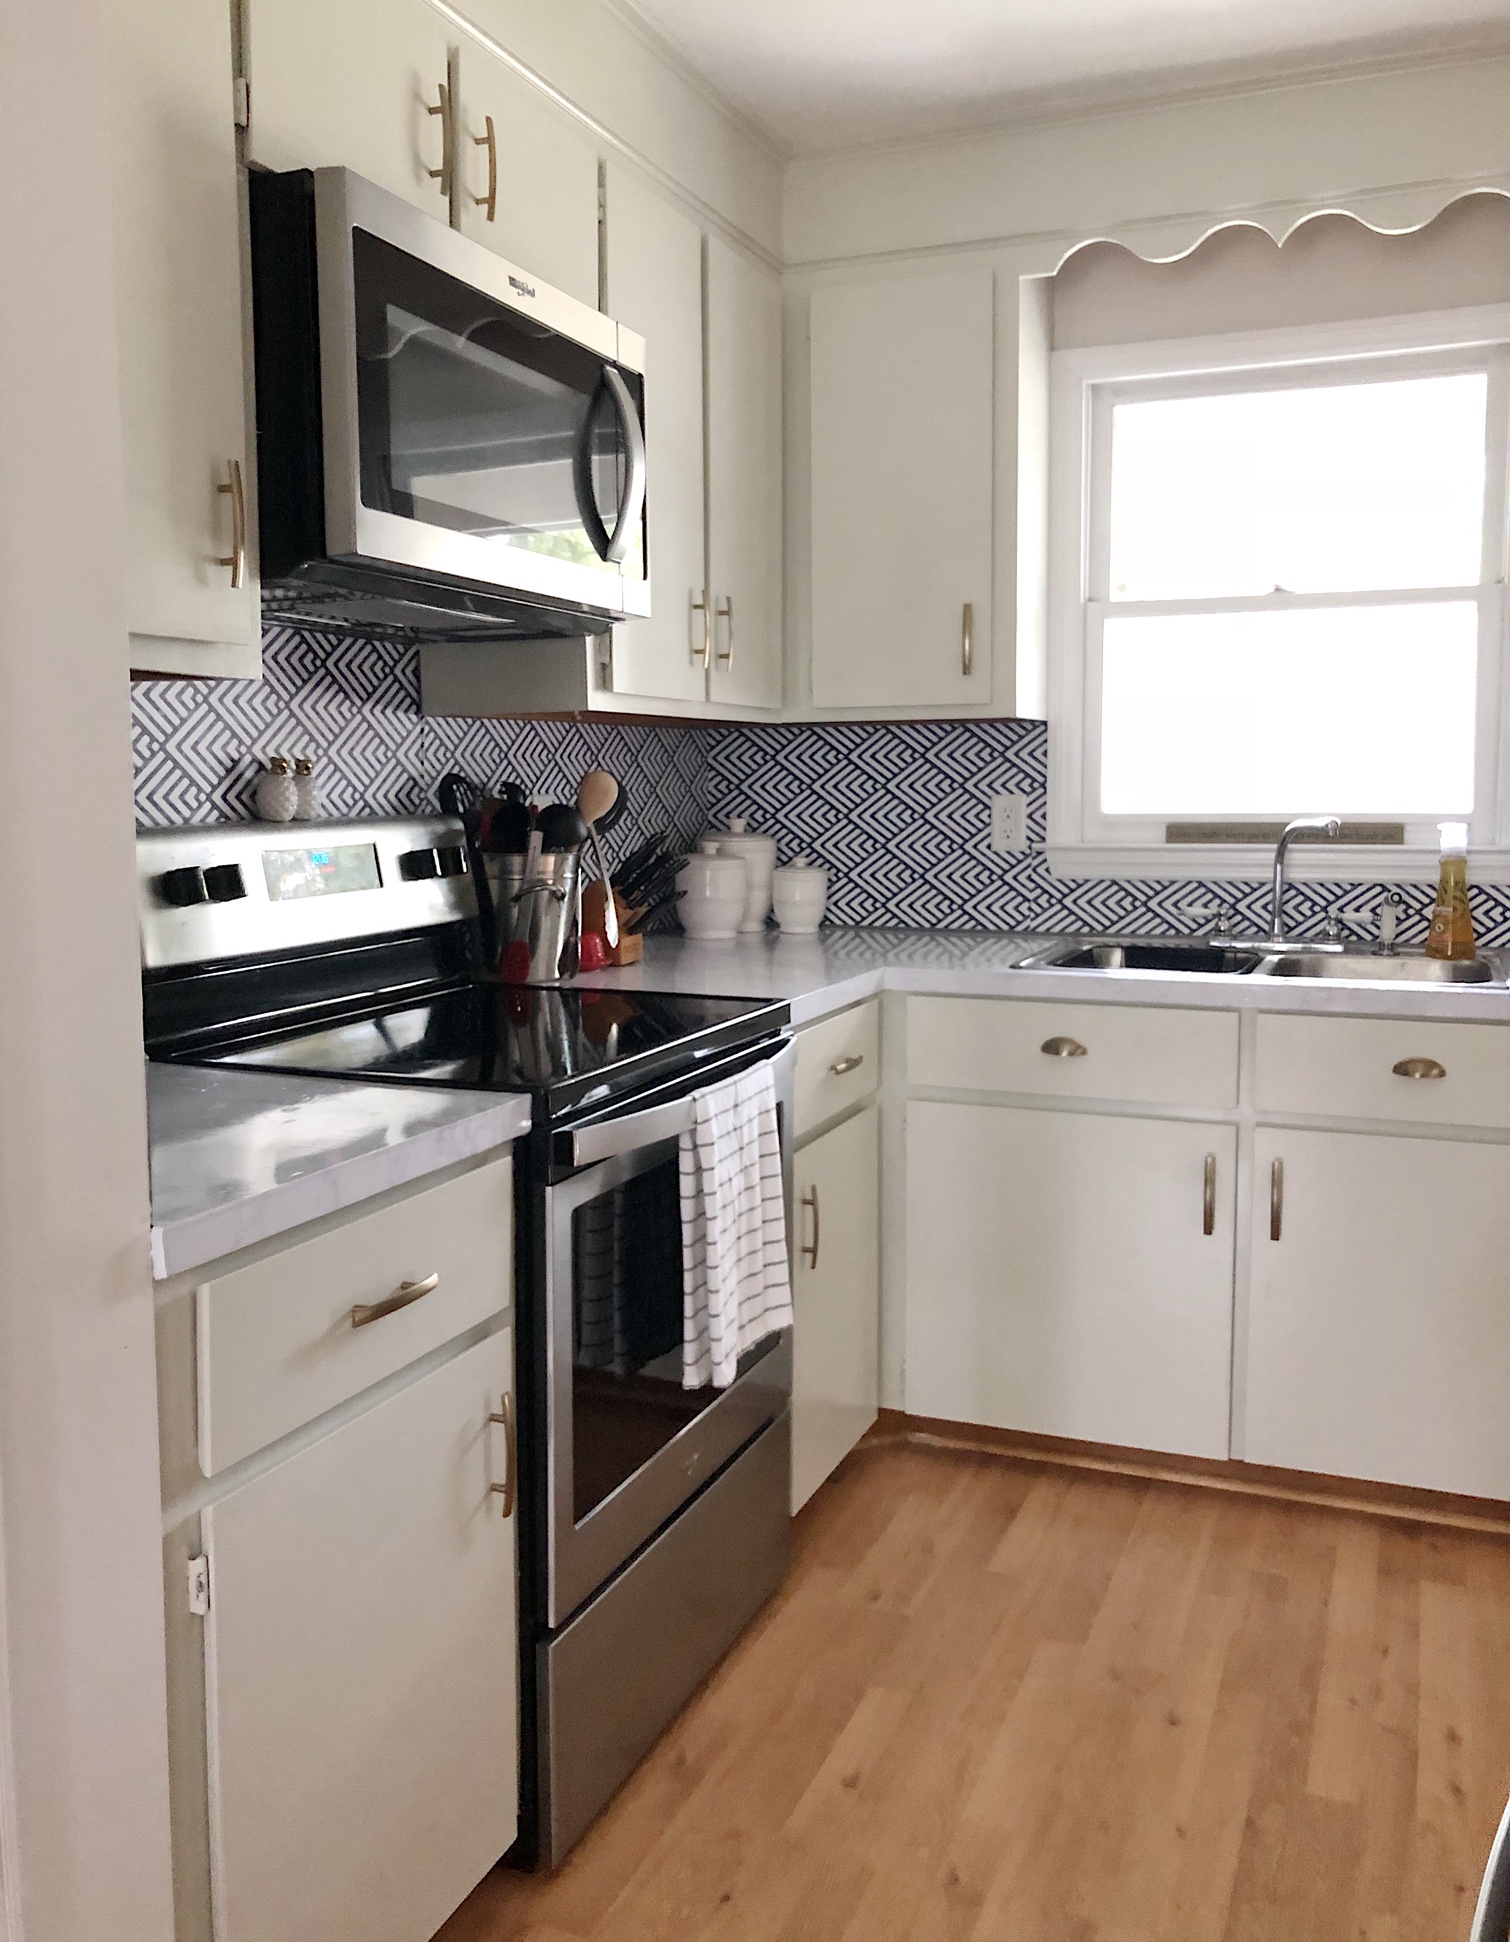
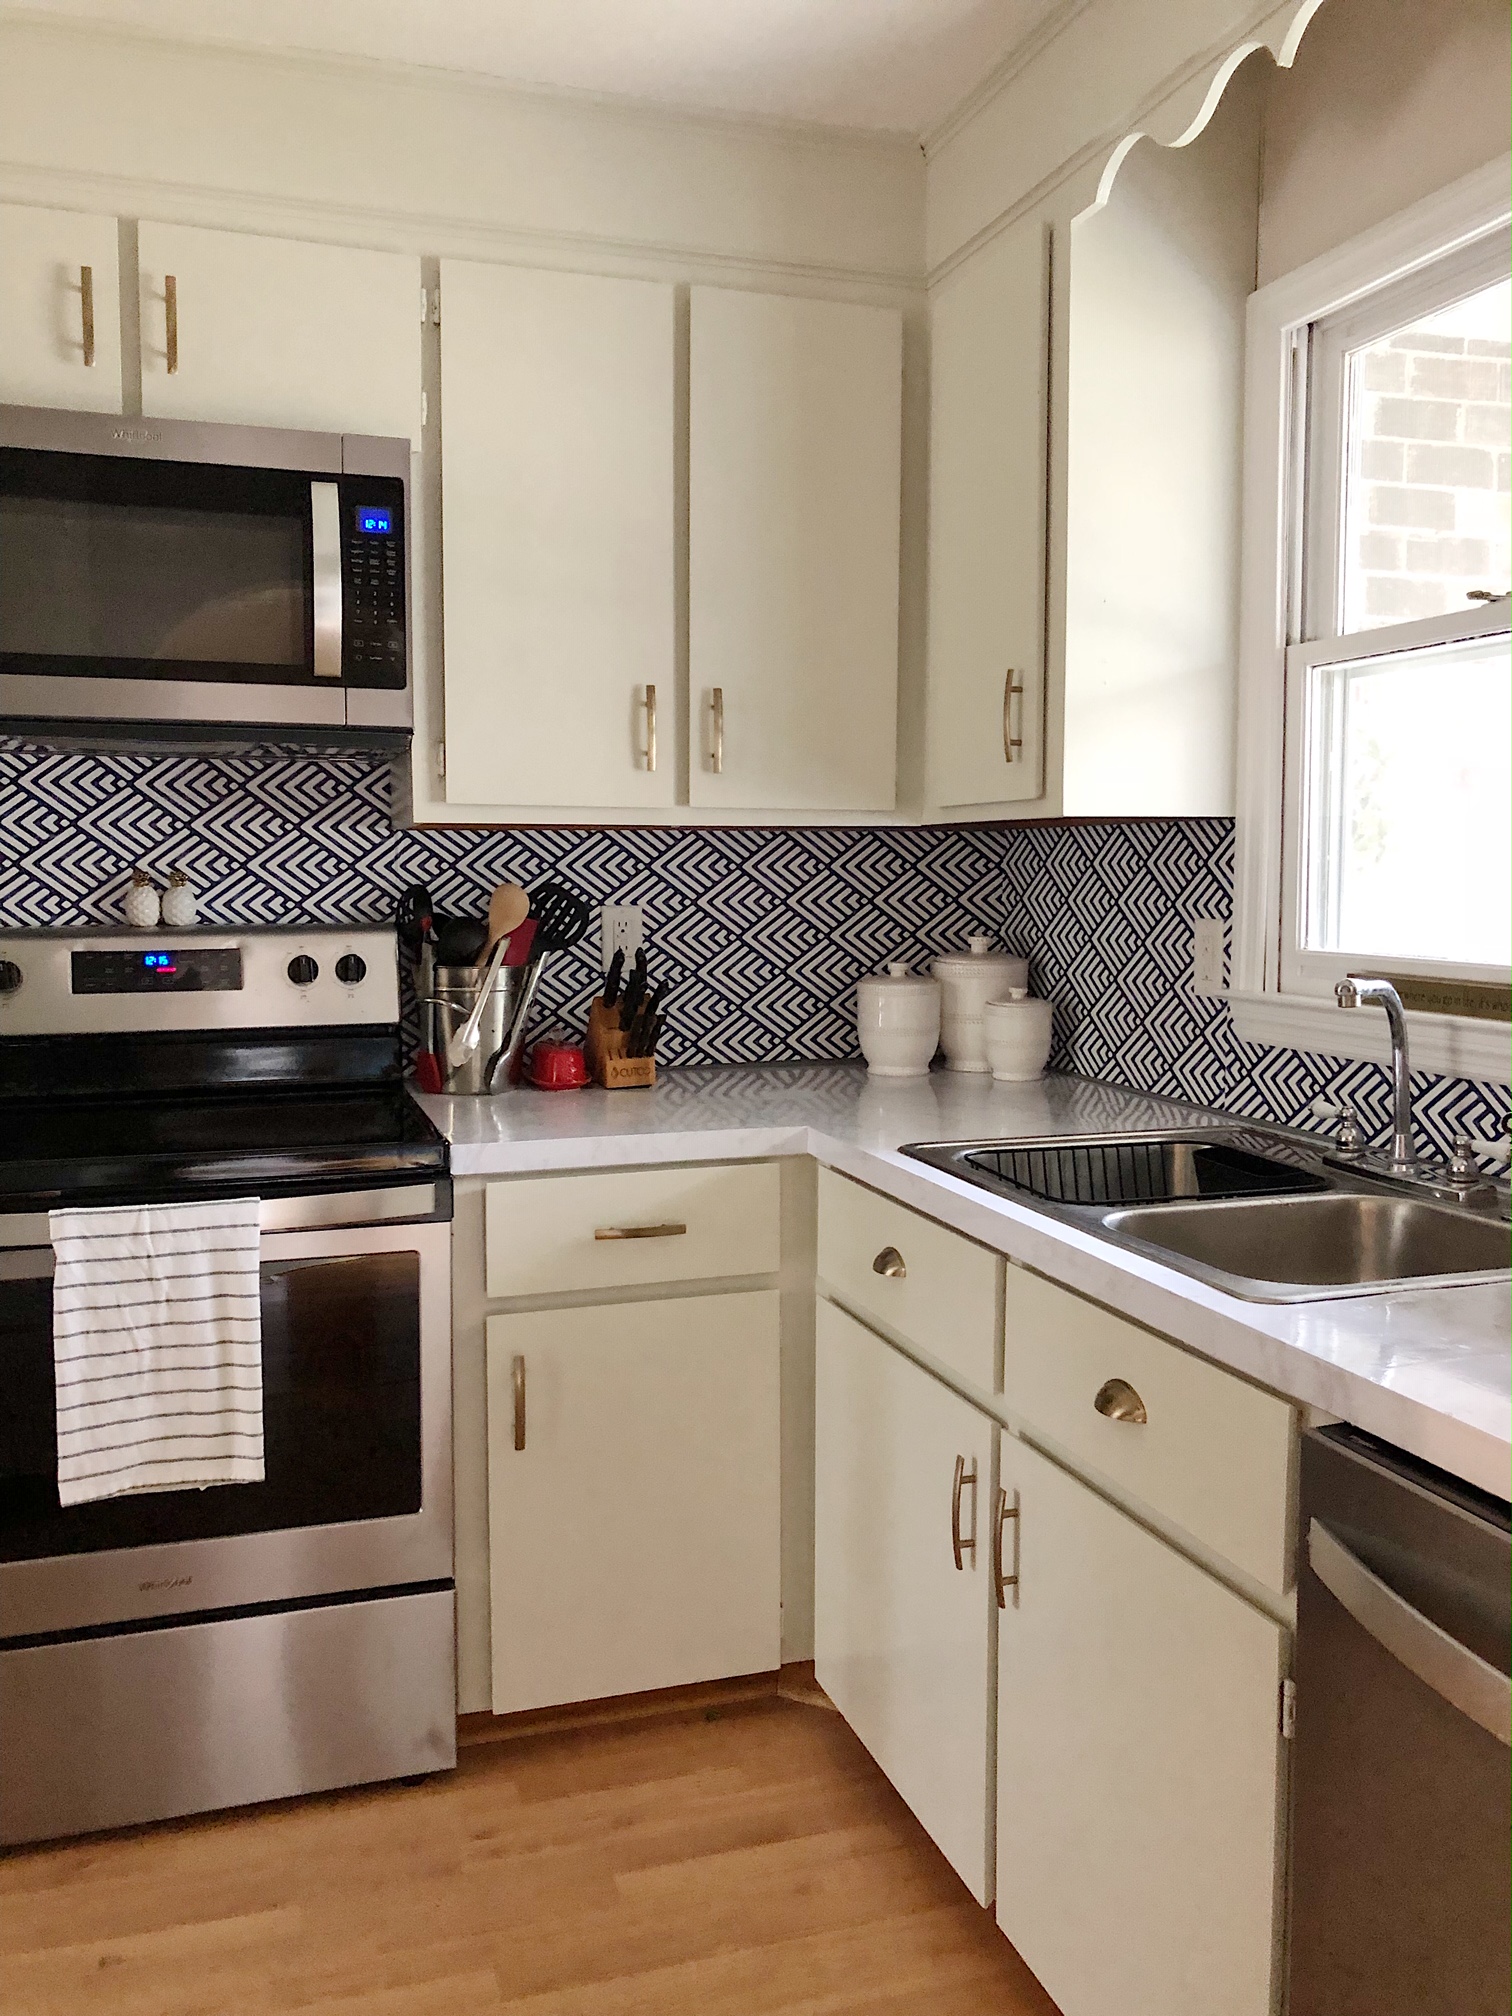
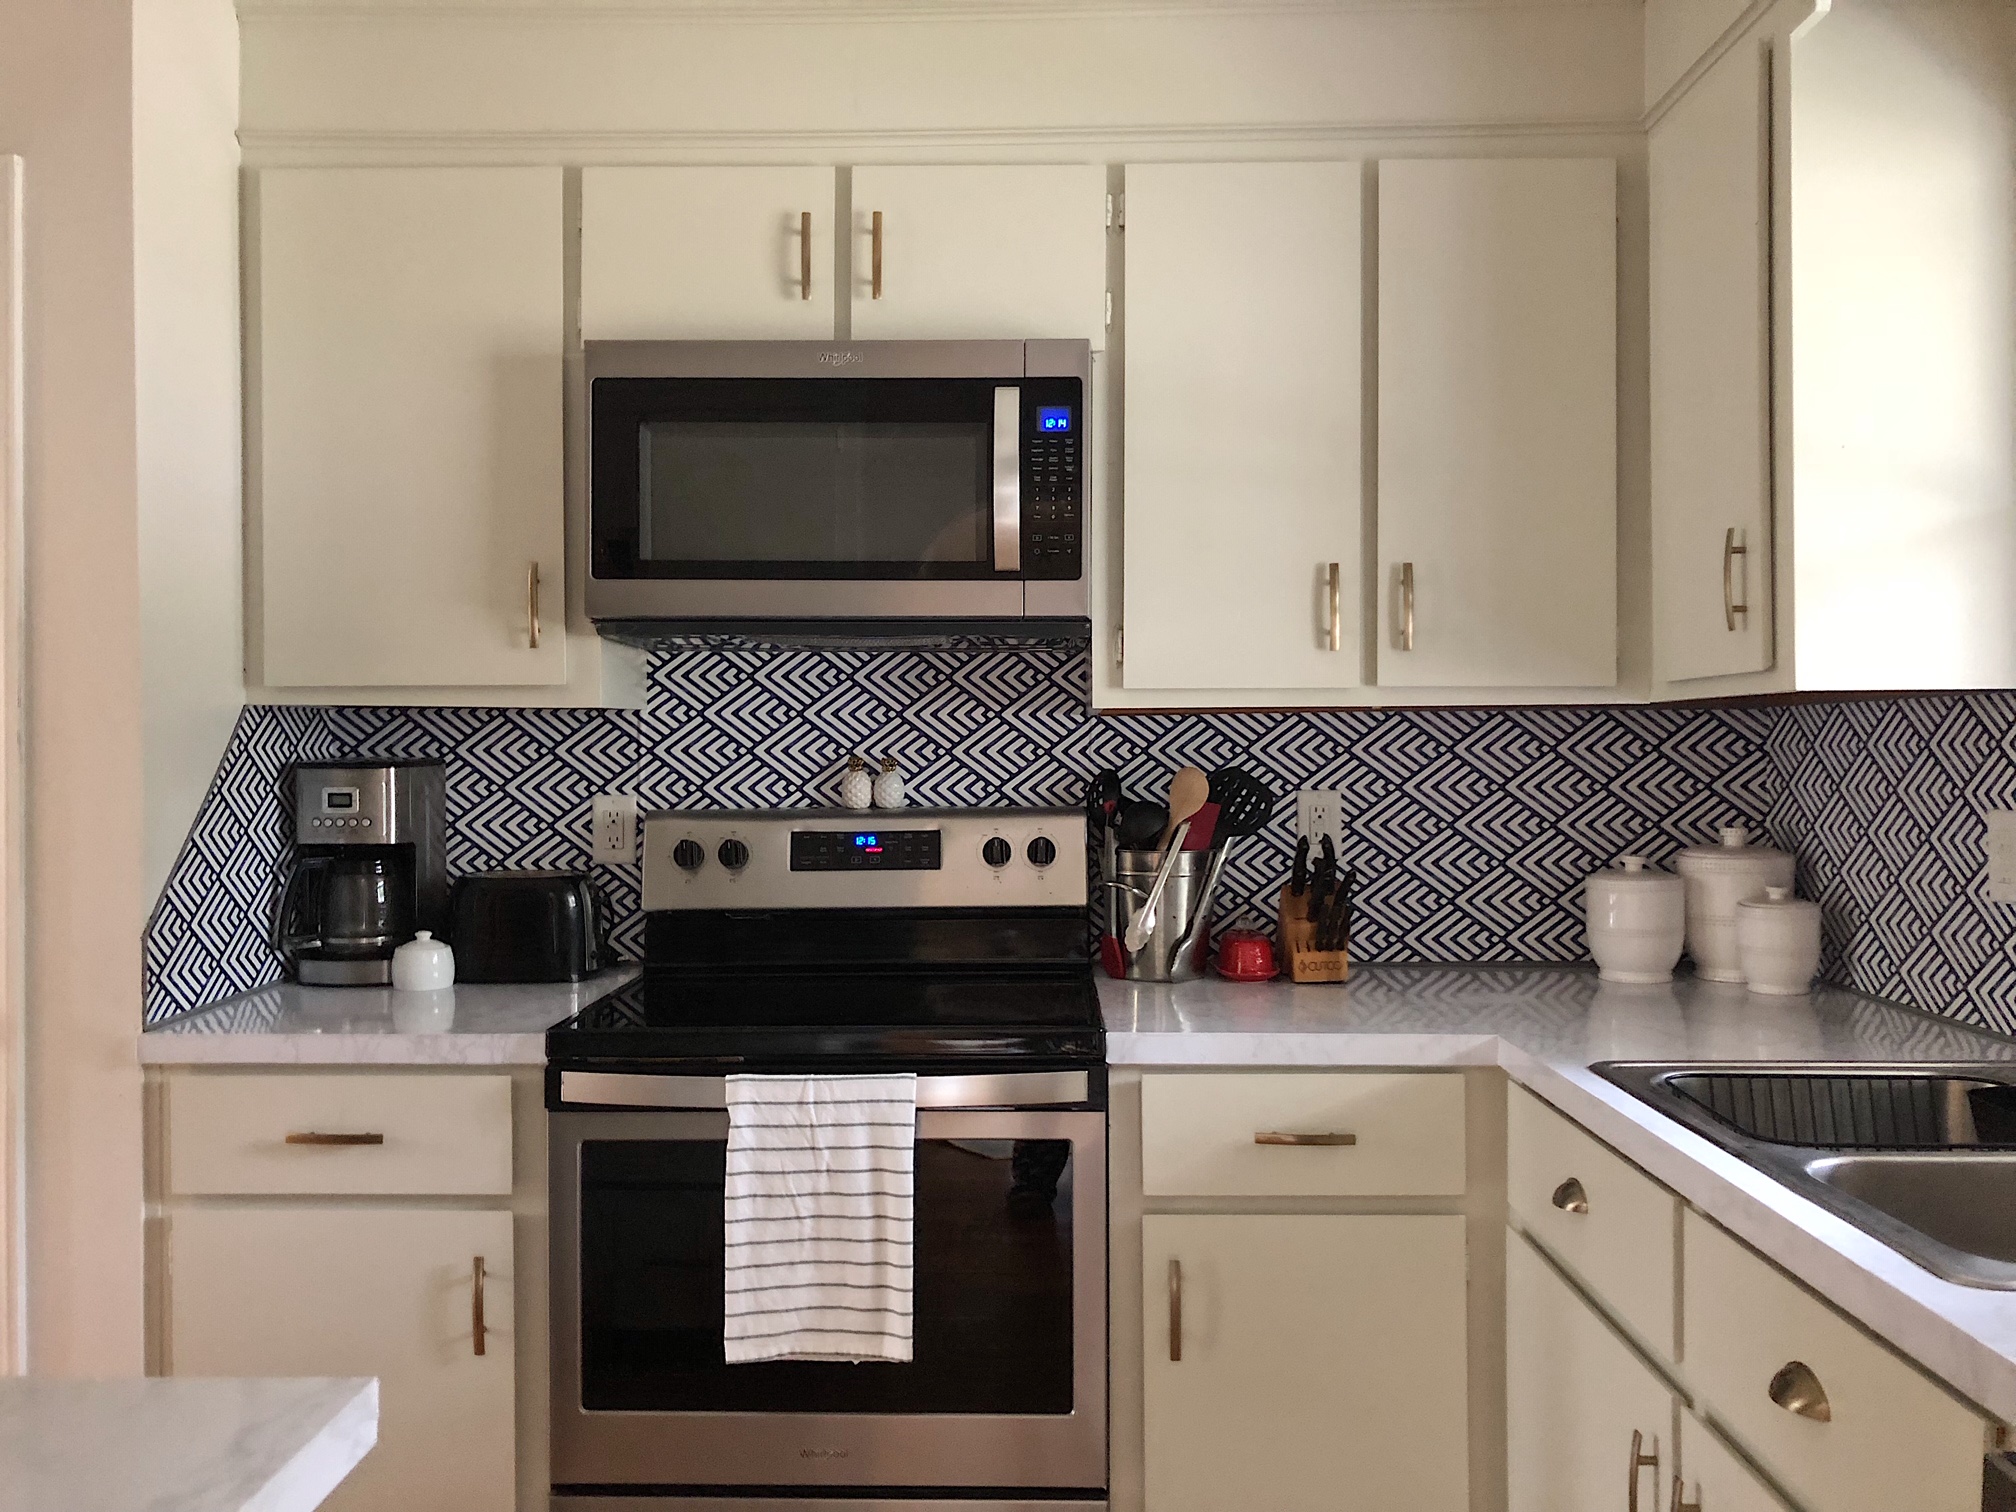

Y’all, it is FAR from perfect, but I feel pretty dang proud and happy with how it turned out! It was definitely a lot of work but it was worth it. I love the way the paint color and hardware color complement each other and really freshen up and brighten up this super dated kitchen. My husband wants to cut out the 80’s style scalloped design above the kitchen sink but I think it’s kinda charming!
Stay tuned for a future blog post on the countertops and “backsplash”. In the meantime, let me know what you think!
professional images by Dreampop Media.
Heads up! My posts may contain affiliate links. Should you purchase anything through the link, you won’t pay a penny more but I’ll get a small commission, which helps keep the lights on. Thanks so much for your support!