How I Did a Gallery Wall with a Big Empty Wall
We have vaulted ceilings in our family room which I love, but even with a 50 inch TV mounted, the main wall was huge, sad and empty. I didn’t know if I wanted to do shelving, or a mix-matched frame photo wall or what, until Pinterest blessed me with THIS inspo photo!
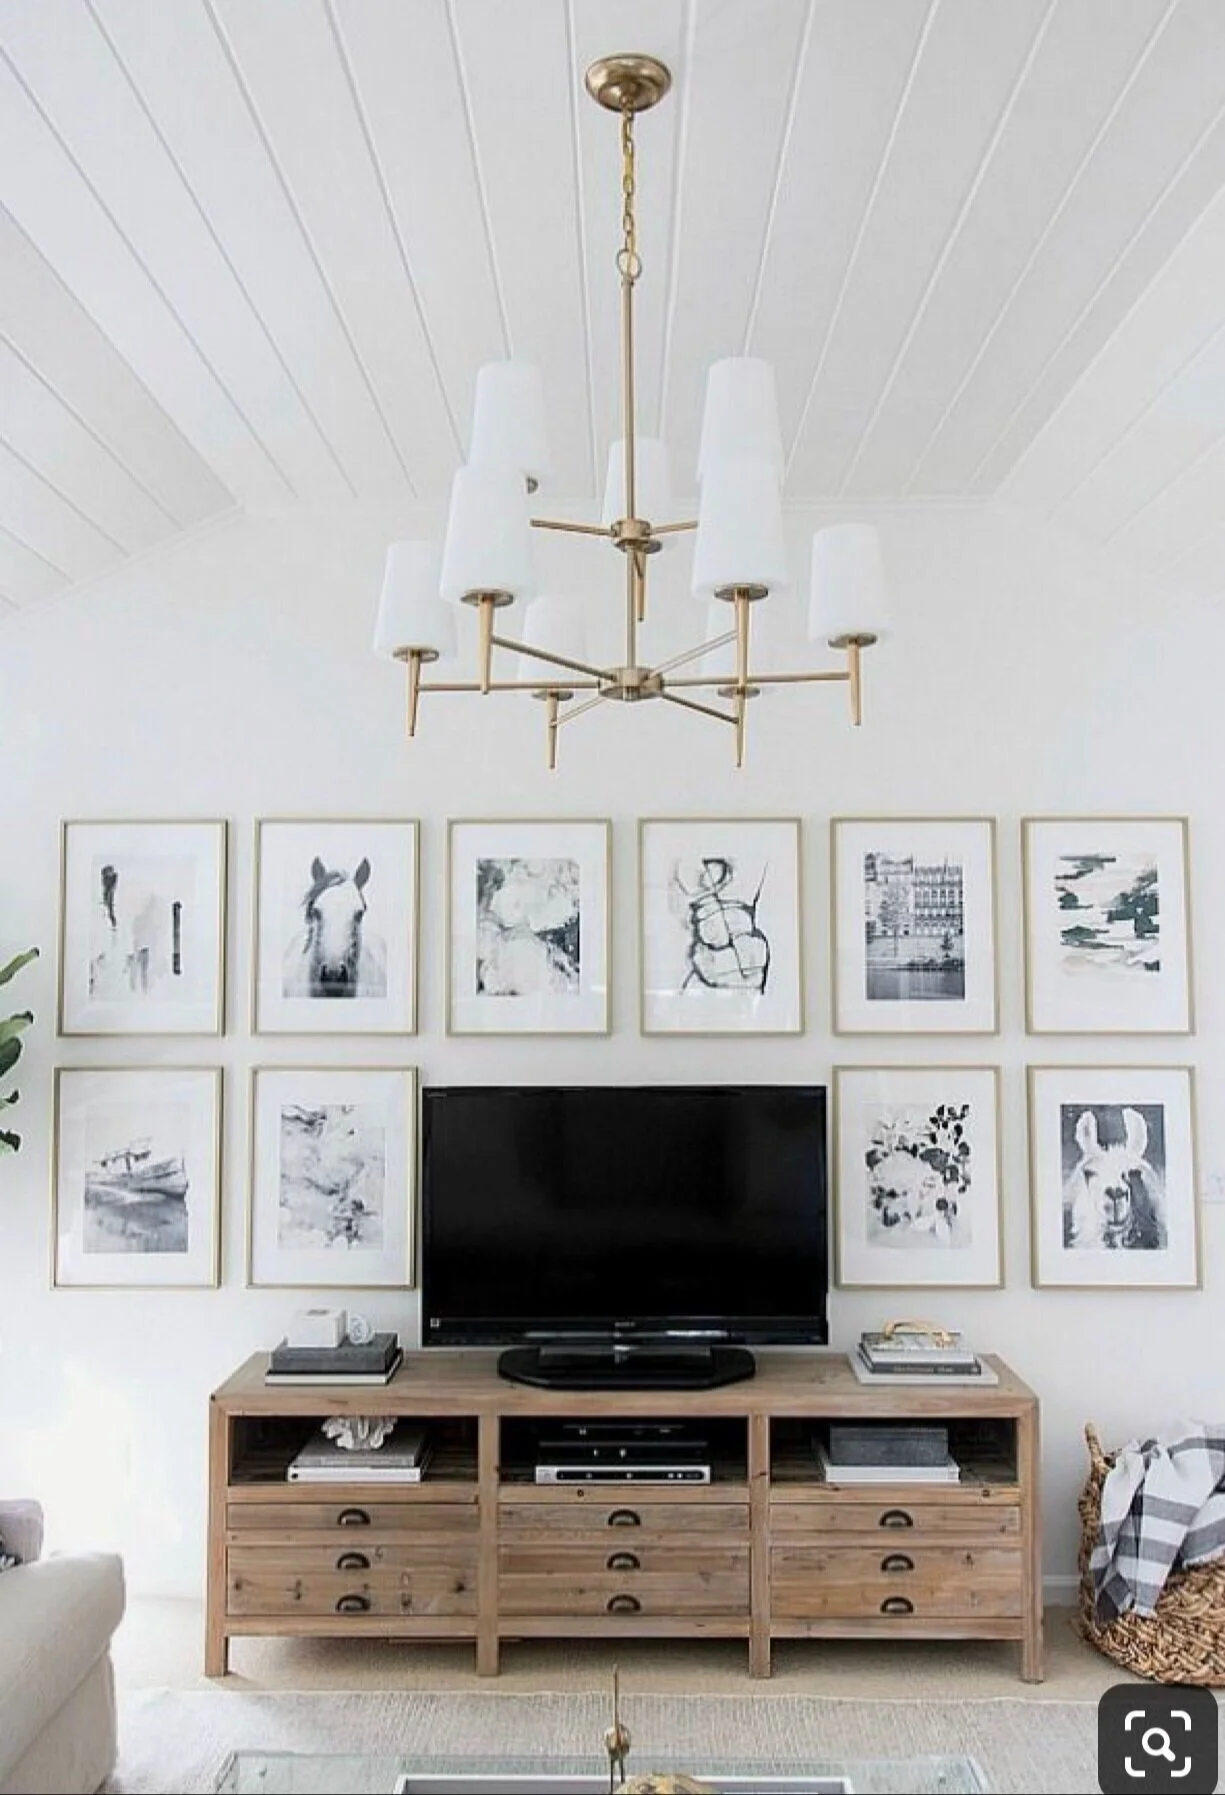
source: Pinterest
I saw this and thought: YES. DONE.
This arrangement is so clean and minimal and perfect.
If you have a big empty wall like mine, and you’re looking to do a gallery wall, I think this is one of the best ways to utilize a bigger-than-average wall space.
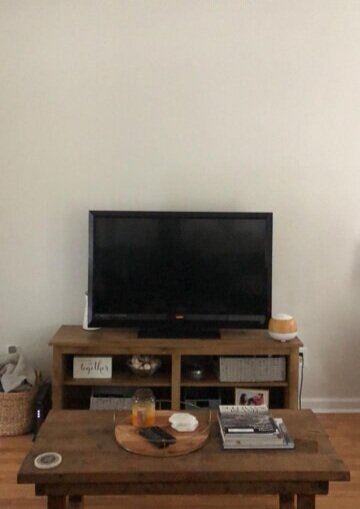
“before” photo
So, I decided I wanted black frames with a wide mat to create a similar look to the inspiration photo.
Then I had to decide what size to do.
I measured and cut a couple different frame sizes and arranged two of each on my wall to get a feel for the appropriate scale. I decided that 16 x 20 frames would be perfect for my space. Anything smaller would probably have made the wall look even bigger, so keep that in mind when you are deciding what size to go with.
I was also considering 16x16 square frames. If your wall isn’t quite as big as mine, 11x14 or 9x12 would probably work best and create the same look.
I searched far and wide for frames that fit this description: Target, Walmart, Michael’s, etc. I needed 10 frames and I knew that could get expensive fast, so I didn’t settle until I felt I found the best match and best quality for the best price.
Finally, I came across a brand I’d never heard of before: Blick Art Materials.
And they saved the day with the “Emery” frame.
ps this is NOT sponsored.
It’s a 16 x 20 frame for 8 x 10 art. This particular frame comes in white, too, and a bunch of different sizes, FYI.
Side note: out of the 10 frames that were delivered, I received 3 broken ones. I sent an email to their customer service and they replied super quick, and told me they already ordered replacements for me— no questions asked! I have a feeling this happens a lot during shipment (no fault of their own), and they have a process down pat. I really appreciated that excellent customer service!
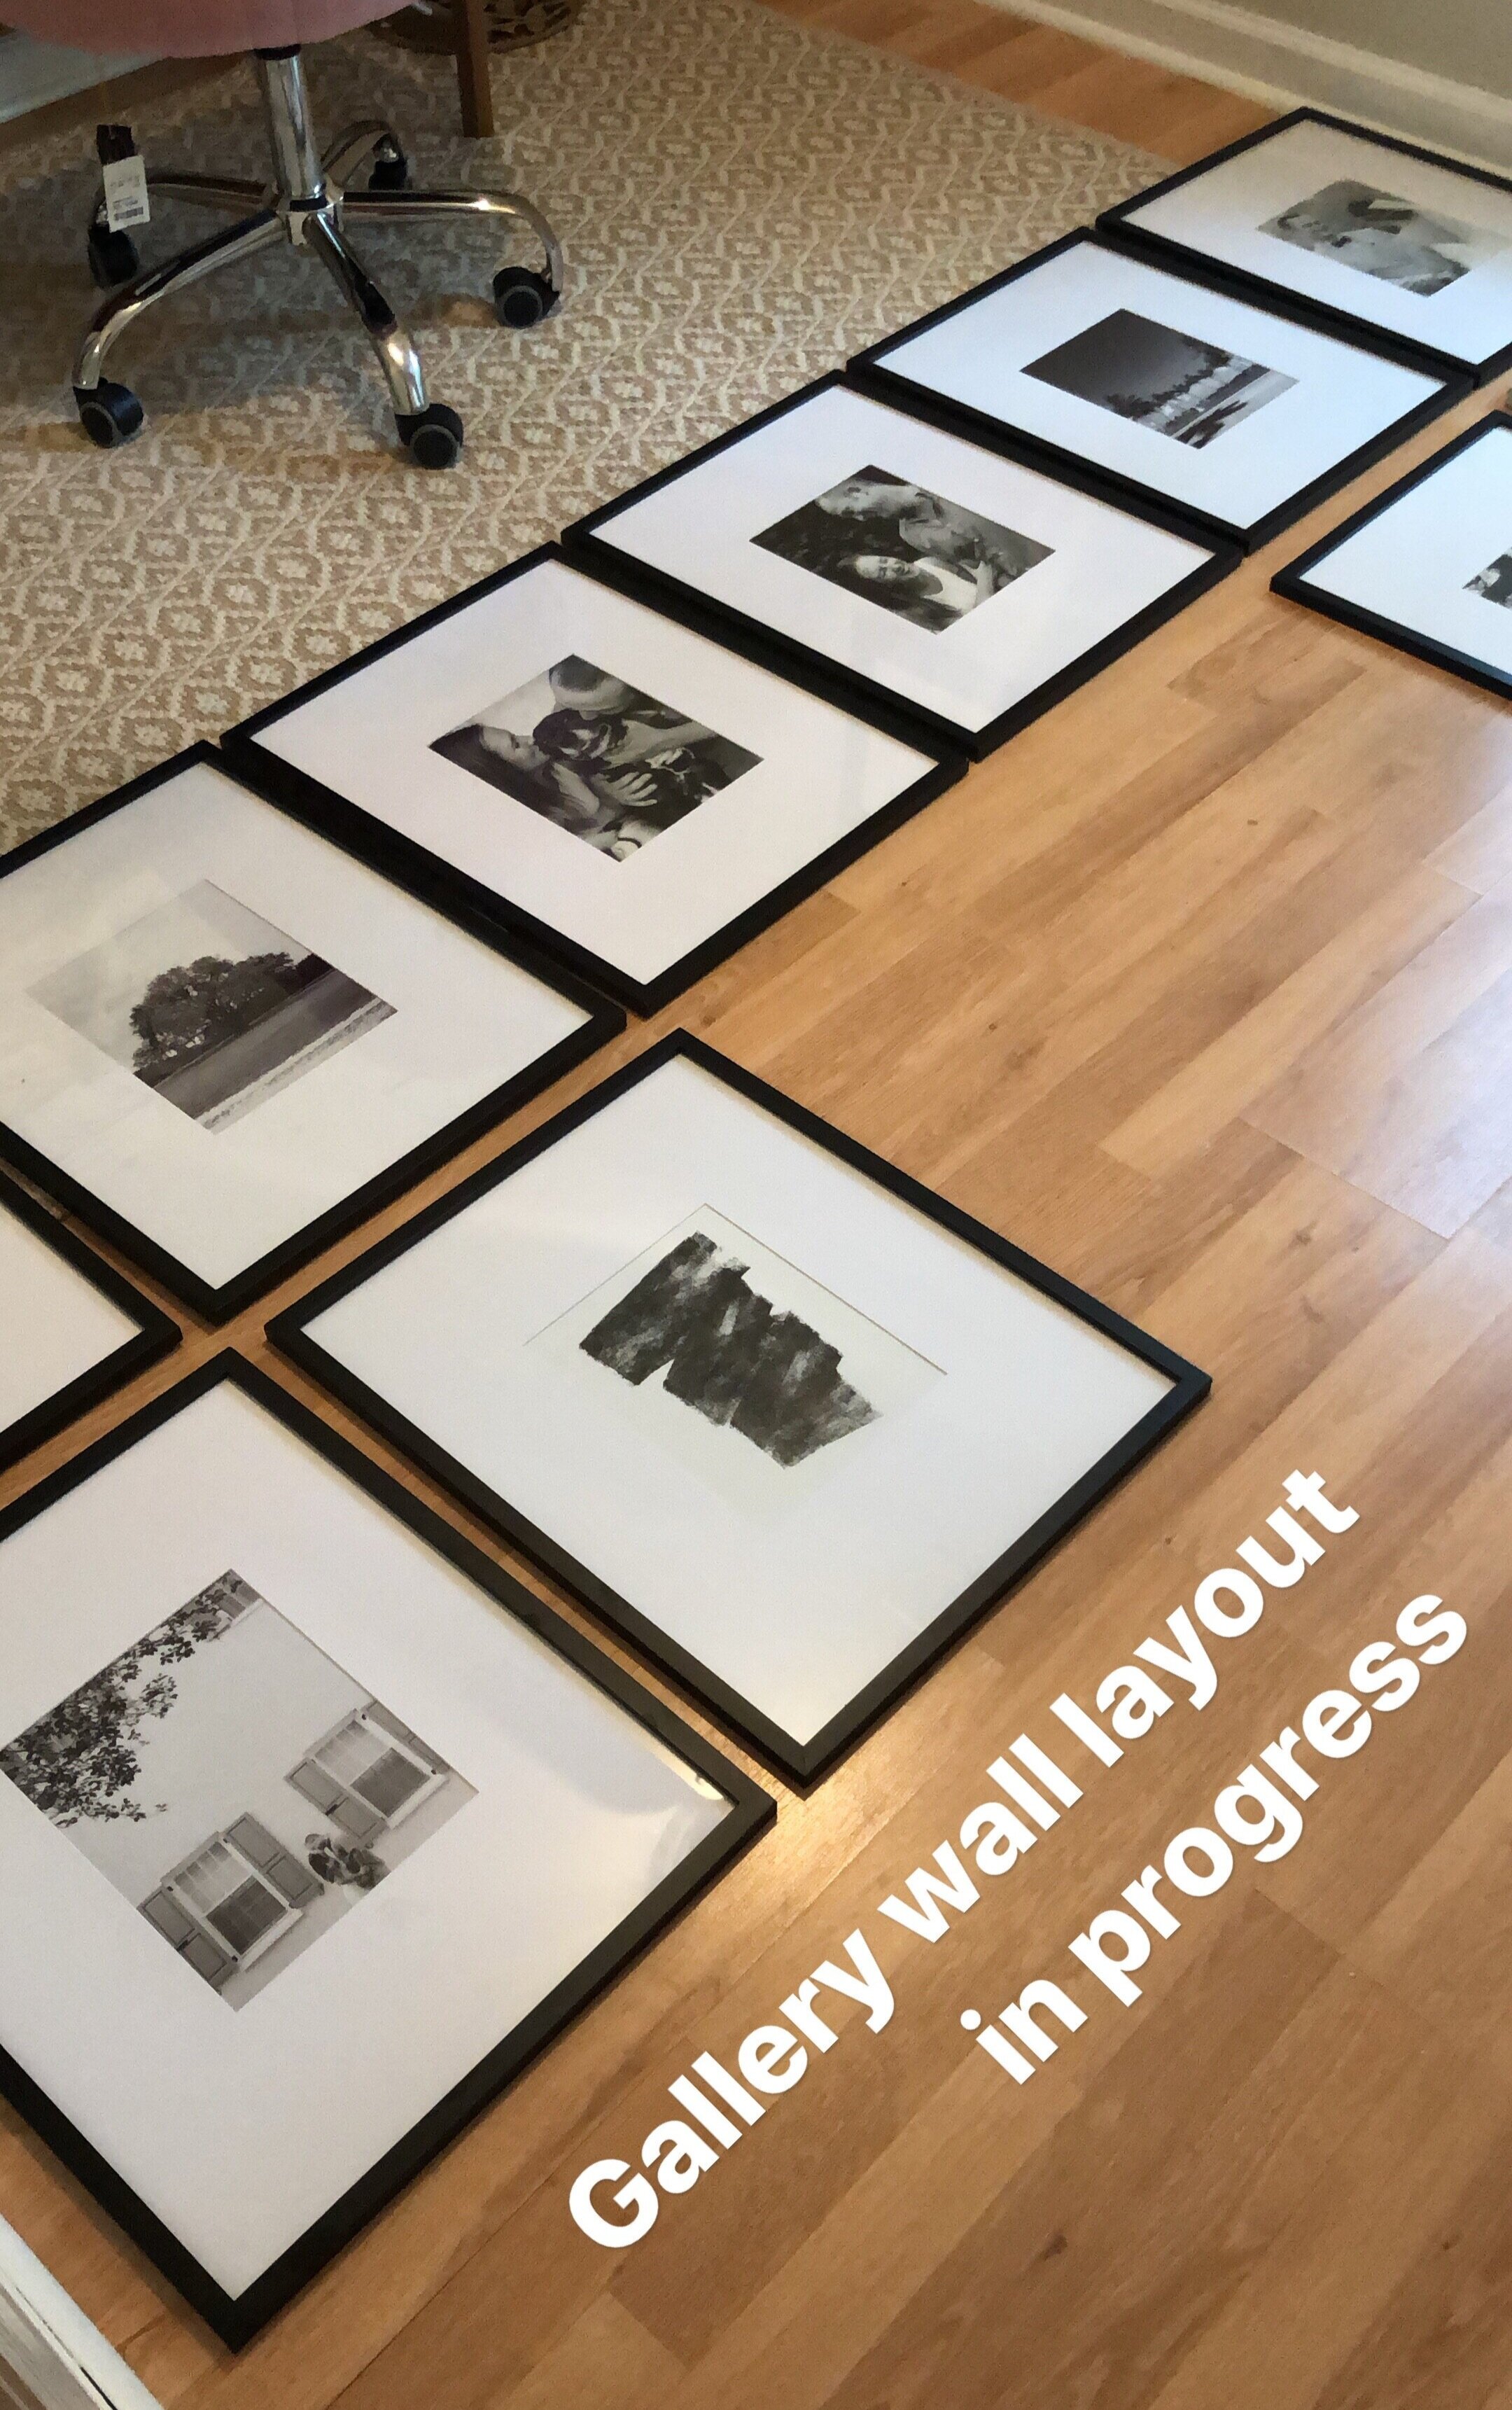
Arrange paper templates on your wall before nailing.
Each frame includes hardware to hang on the wall and paper template so that you can pre-arrange them on your wall before putting holes in them, which I thought was super helpful.

Once we started putting the nails in, we had a bit of a snafu in which my husband accidentally hit an electrical wire in the wall! Thankfully it was just the copper grounding wire and he was able to repair it himself (with help from my dad). Woops! Just another day in DIY Land. This is him cutting out a piece of the wall to access the wires.
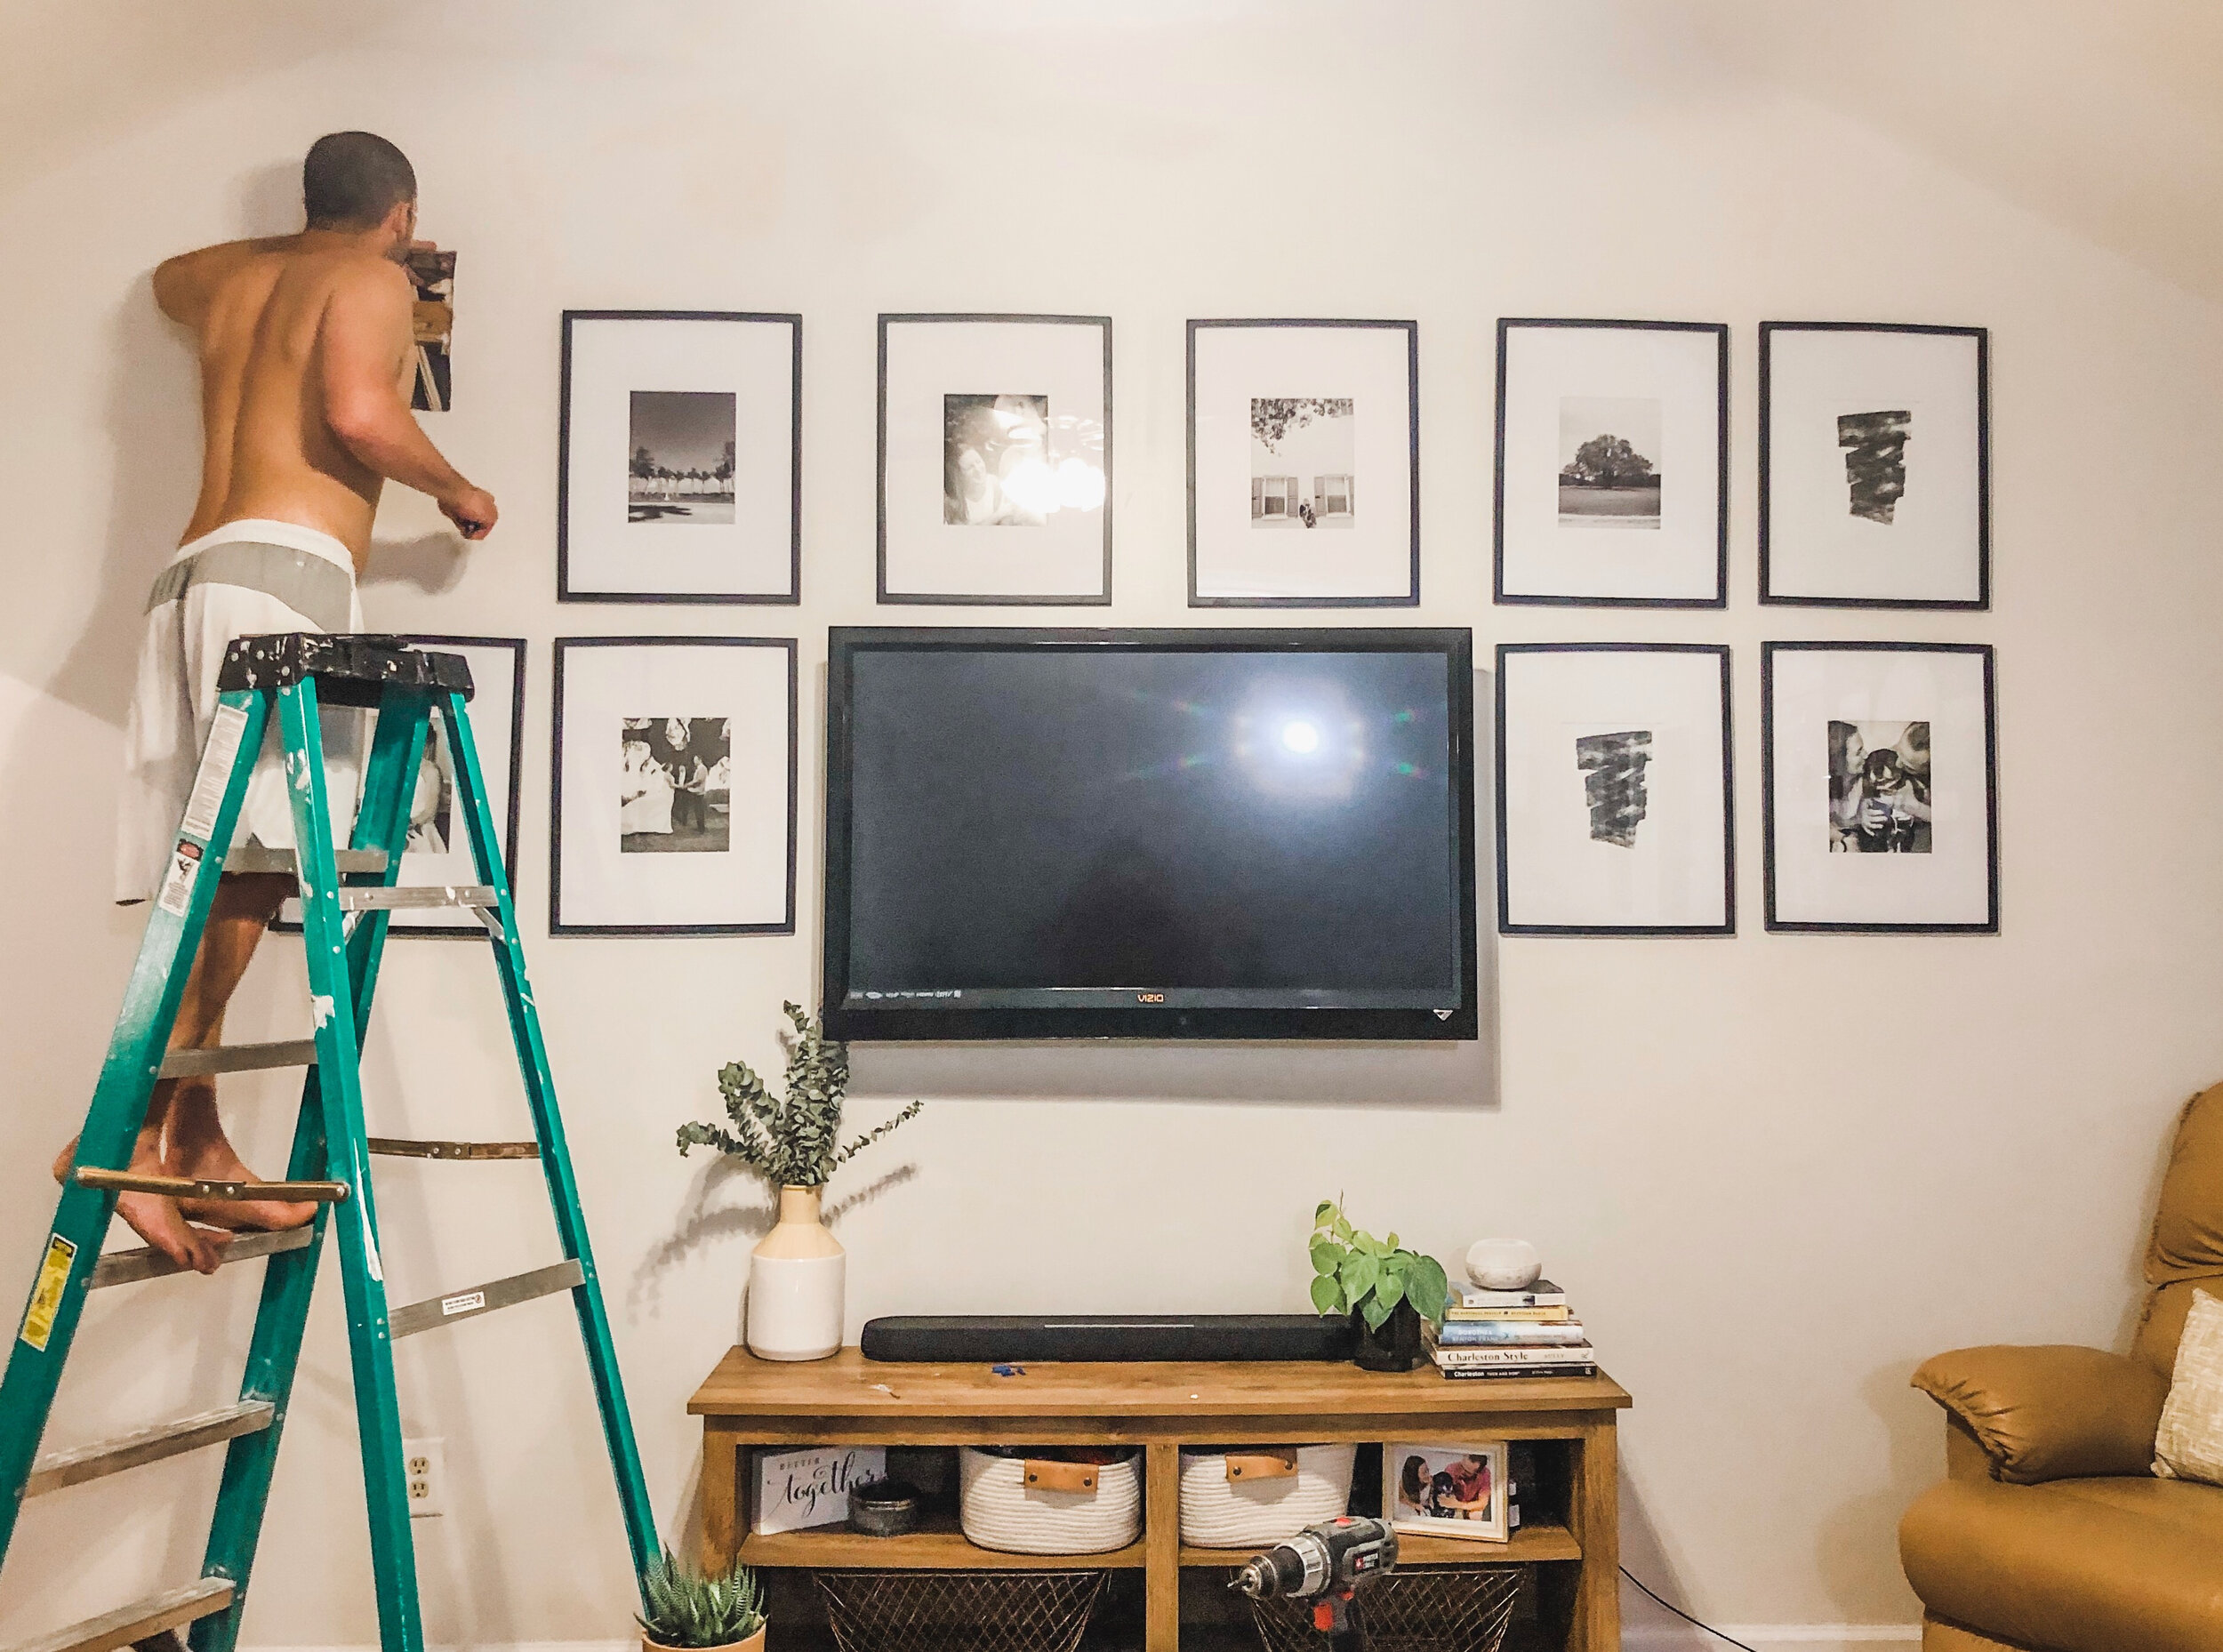
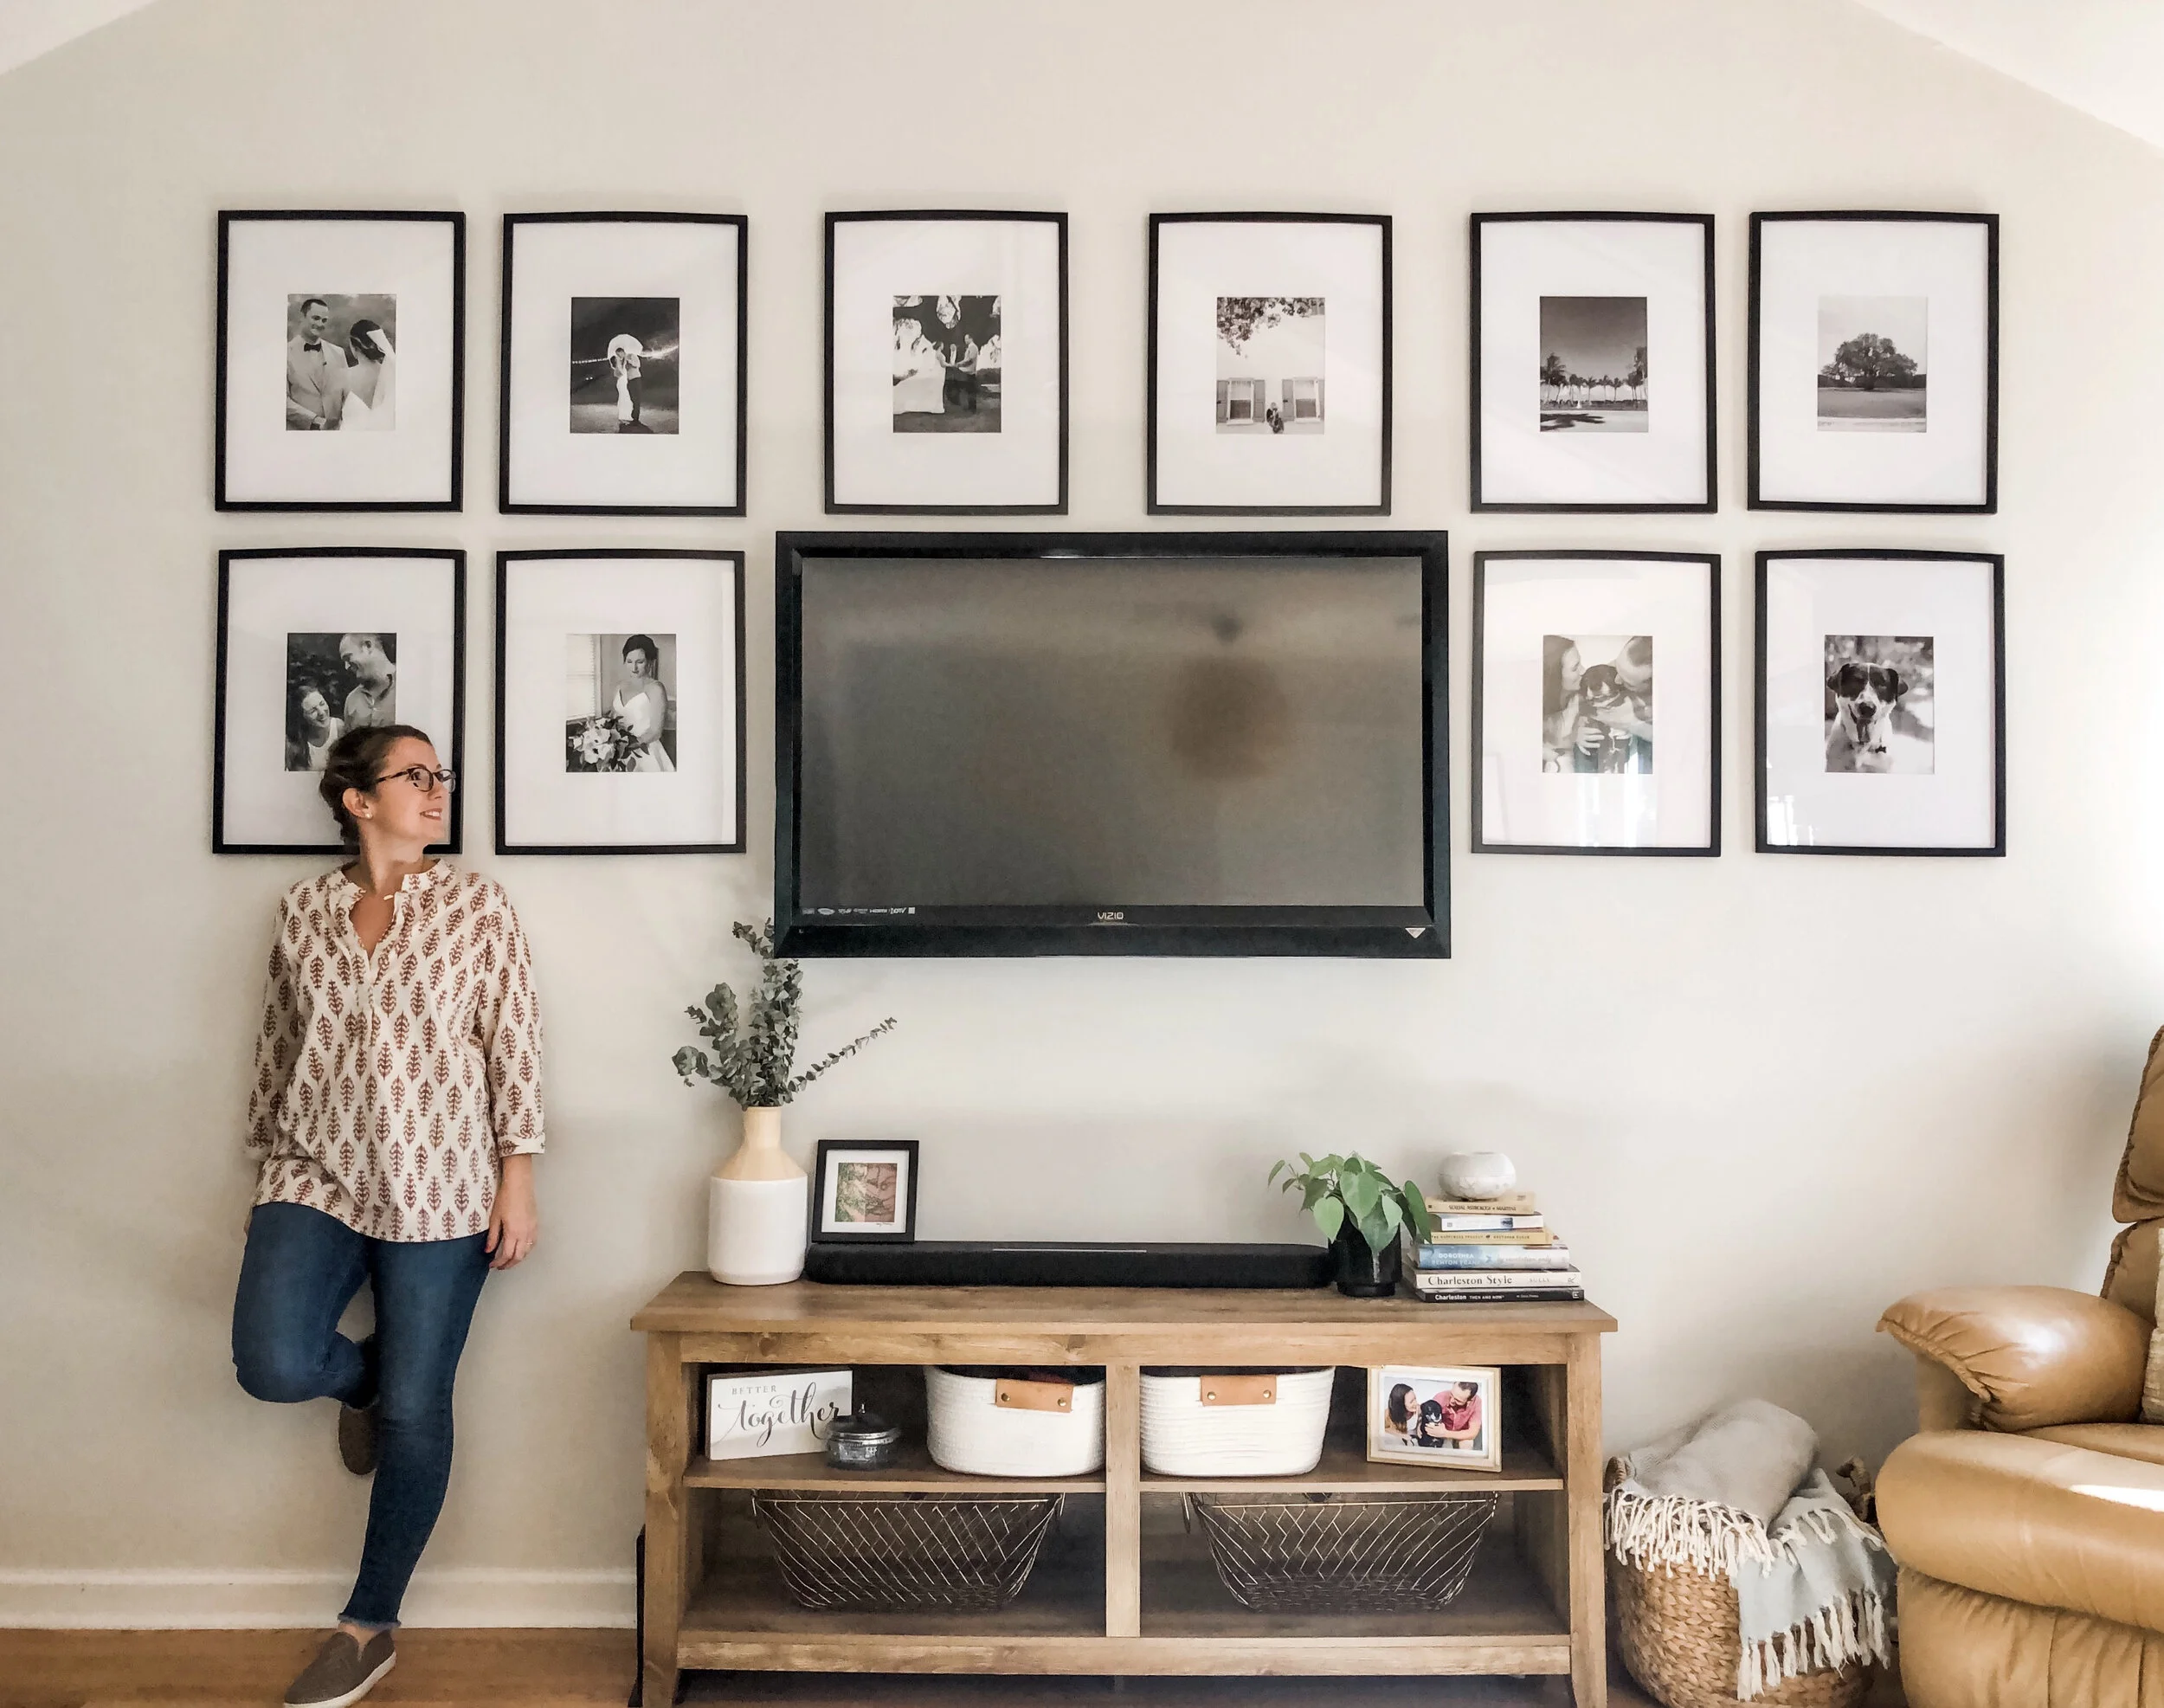
And here’s the final result! I absolutely love it. I get so many compliments. If you need some help recreating something similar, send me a message!
Heads up! My posts may contain affiliate links. Should you purchase anything through the link, you won’t pay a penny more but I’ll get a small commission, which helps keep the lights on. Thanks so much for your support!